Choosing the right wall primer paint is one of the most important steps before painting your home. While paint provides colour and the final decorative finish, primer prepares the surface underneath so the paint can adhere properly and develop a more uniform appearance.
Whether you are painting a newly plastered wall, a putty-finished surface or repainting an existing wall, the right primer can help improve adhesion, regulate surface absorption and support a smoother finish. However, not every primer is suitable for every wall.
In this guide, learn about the different types of wall primer paint, their benefits, coverage, how to choose the best primer and how to apply it.
Wall primer paint is a preparatory coating applied before the final paint coats. It creates a suitable base between the wall surface and the topcoat, helping the paint adhere more effectively and reducing uneven absorption.
Fresh plaster and other masonry surfaces can be porous, which may cause paint to absorb unevenly. Applying a suitable wall primer helps create a more consistent surface for the subsequent coats.
Primer can also be useful when dealing with repaired areas, stains, significant colour changes or previously painted surfaces that require additional preparation.
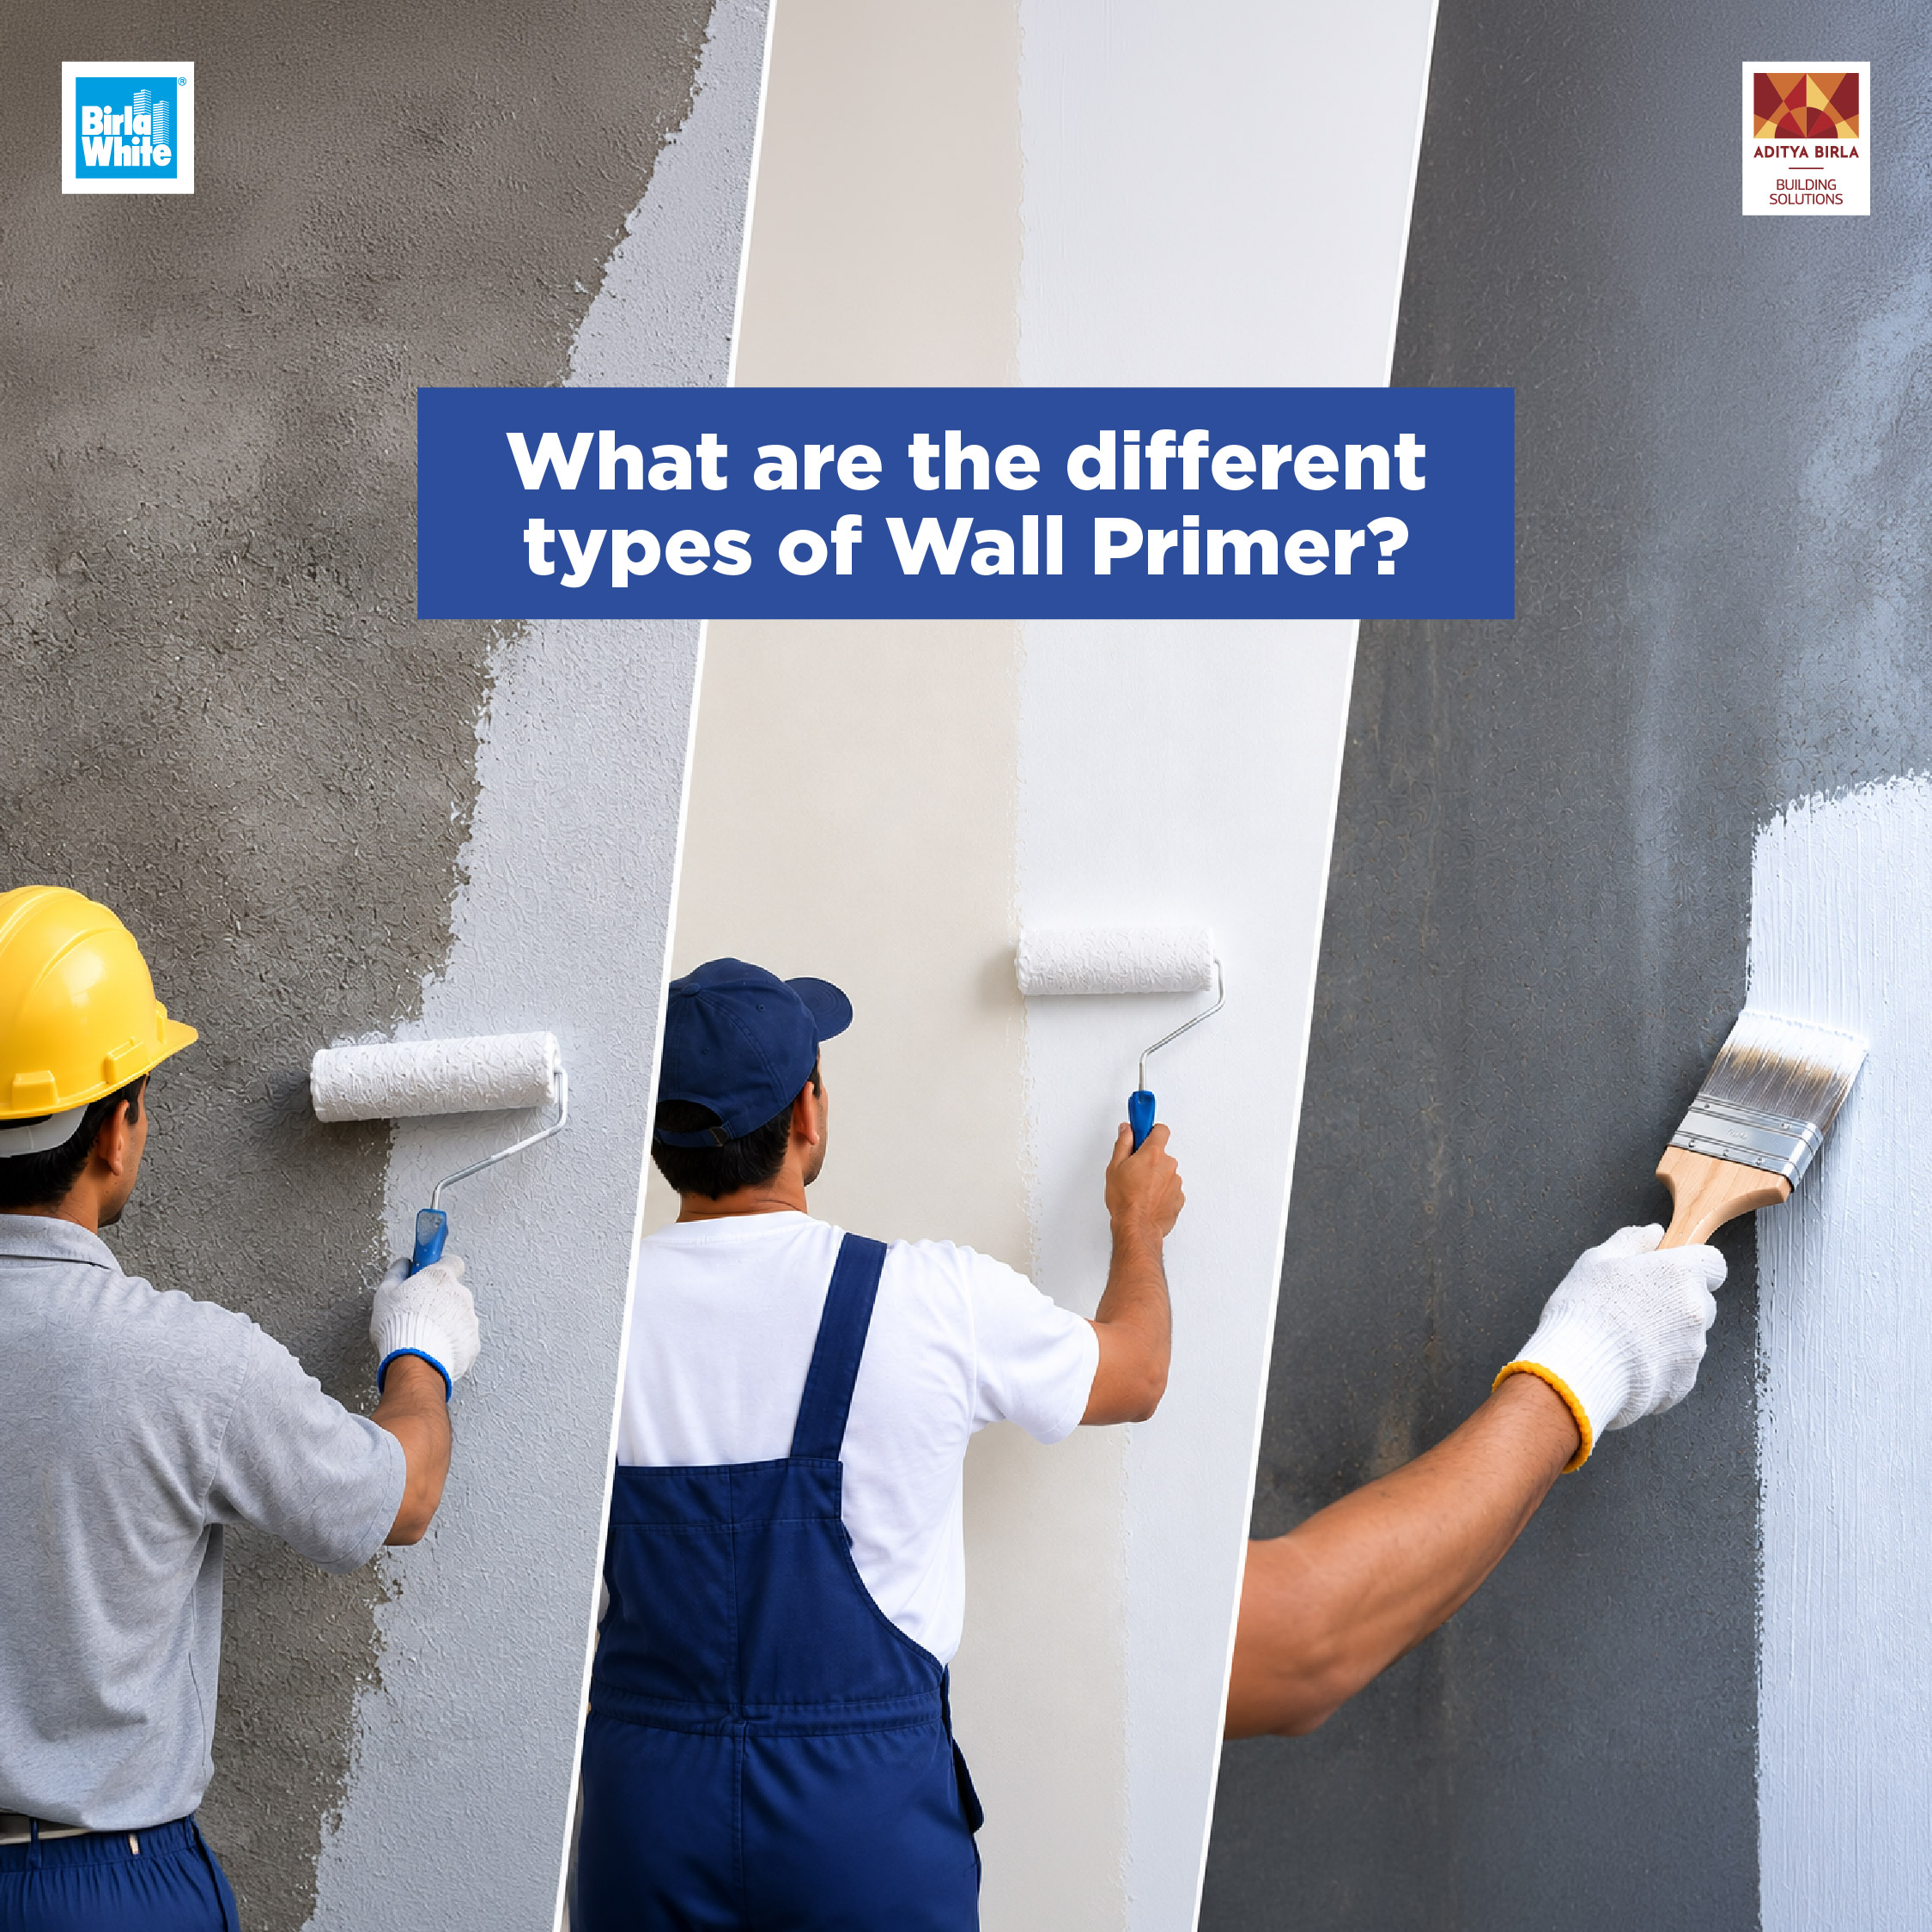
To find the best wall primer paint for your project, don't choose based on brand or price alone. Match the primer to the wall surface and the paint system you intend to use. A primer suitable for a newly plastered interior wall may differ from one required for an exterior masonry surface or a wall with persistent stains.
Skipping primer can affect the appearance and performance of the final paint finish, particularly on new, porous or repaired surfaces. The benefits of primer for paint are listed below.
A suitable primer helps the topcoat bond more effectively with the prepared wall surface. Better adhesion can reduce problems such as premature peeling or flaking.
New plaster and masonry can absorb paint unevenly. Primer helps regulate this absorption, creating a more uniform base and potentially reducing unnecessary paint consumption.
An uneven or highly absorbent wall can result in patchy-looking paint. Primer helps create a consistent surface, allowing the finish coat to develop more evenly.
Primer can help prepare the surface after suitable filling, sanding and repair work. It is important to remember that primer is not a substitute for proper wall preparation or putty application.
When changing from a darker colour to a lighter shade, a suitable primer can help create a more consistent base for the new colour.
Specialised primers are available for surfaces affected by stains, difficult adhesion, moisture-related marks or other specific conditions. The right product should be selected according to the problem rather than using a standard primer for every situation.
Explore the Birla White Primer range and choose the right primer for your interior or exterior walls.
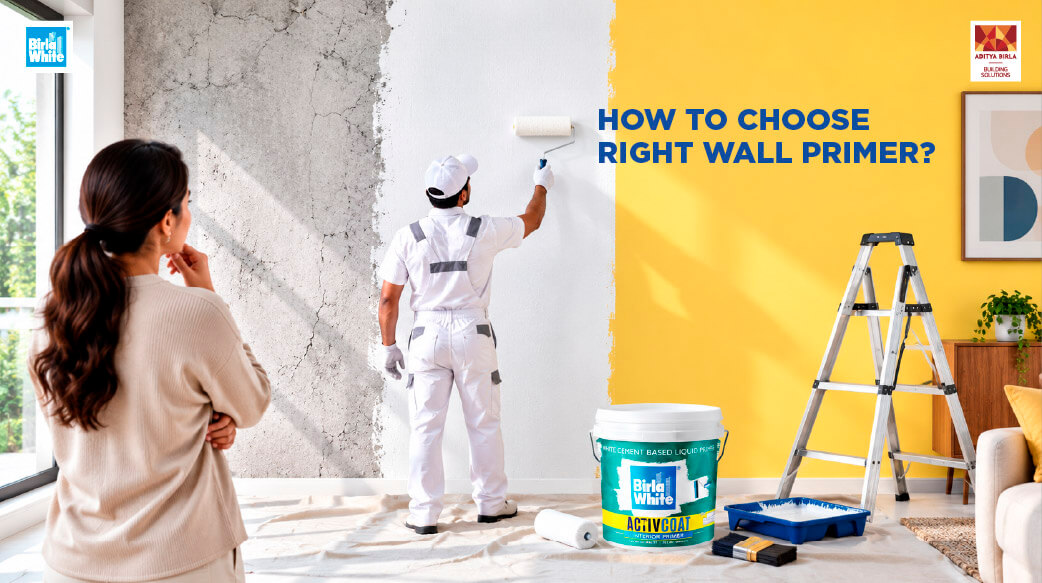
Wall primers can differ according to their formulation, intended surface and performance requirements. Some commonly encountered categories include cement primers, acrylic primers, water-based primers and specialised primers.
Cement primer is commonly used for masonry surfaces and walls, particularly where a suitable base is required before the decorative paint coat.
It can be considered for:
Cement primer is particularly relevant to Indian homes where cement plaster and masonry are common wall substrates.
Acrylic primers use acrylic-based binders and can provide good adhesion and surface preparation for compatible substrates.
Depending on the product, acrylic primers may be suitable for:
Always check the product's technical specifications to confirm the recommended surface and compatible topcoat.
Water-based primers are widely used for suitable wall applications because they are generally easy to apply and have comparatively convenient cleanup.
They can be suitable for:
Their suitability depends on the surface condition and the finish paint being used.
Solvent-based primers are designed for applications where their particular adhesion, durability or protective characteristics are required. They are more commonly associated with certain wood and metal applications, although the appropriate product should always be selected based on the substrate.
Walls with persistent stains, smoke marks, water-related marks or difficult surfaces may require a specialised primer.
These primers are designed to address specific surface problems rather than simply providing a general base for paint.
The best wall primer for painted walls depends on more than the brand or price. Consider the surface, condition of the wall, location, existing coating and final paint before making your choice.
| Wall Condition | Suitable Primer Approach |
|---|---|
| New plastered wall | Primer suitable for masonry and compatible with the selected paint |
| Putty-finished wall | Suitable wall primer after sanding and cleaning |
| Previously painted wall | Compatible primer where required after assessing the existing coating |
| Stained wall | Stain-blocking or specialised primer, depending on the stain |
| Exterior masonry | Exterior-grade primer compatible with the exterior topcoat |
| Damp or moisture-affected wall | Address the moisture source first; use a suitable specialised system where specified |
| Major colour change | Primer/base coat that helps provide a uniform foundation |
The key principle is simple: match the primer to the wall and the final paint system.
Primer coverage refers to the area that can be coated with a specified quantity of primer under application conditions.
However, there is no single coverage figure that applies to every wall primer paint.
Actual coverage can vary depending on:
Highly porous or uneven walls may consume more primer than smooth, properly prepared surfaces.
A basic calculation for wall primer price is:
Primer required = Total wall area ÷ Coverage per litre
For example, if the paintable wall area is 1,000 sq. ft. and the selected primer's stated coverage is 100 sq. ft. per litre:
1,000 ÷ 100 = 10 litres
This is only an illustrative calculation. For an accurate estimate, use the coverage specified on the product's technical data sheet and account for the actual condition of the wall.
Correct application is just as important as selecting the right primer.
Check the wall for cracks, peeling paint, dampness, stains, dust, loose material and other defects.
If the wall has an active moisture or leakage problem, fix the underlying cause before beginning the painting system.
Remove dust, dirt, loose particles, grease and other contaminants. The wall should be sufficiently clean and dry before primer application.
Repair cracks, holes and surface imperfections using the appropriate material. If wall putty is part of the painting system, complete the recommended putty application before priming.
Once the required surface preparation material has dried, sand the wall to achieve a smooth and even surface.
Remove the sanding dust before applying primer.
Apply the selected wall primer using the recommended roller, brush or other application method.
Follow the manufacturer's instructions for:
Do not rush into the topcoat. Allow the primer to dry for the period specified by the manufacturer.
Once the primed surface is ready, apply the compatible finish paint according to the recommended painting system.
Ready for a smoother, brighter finish? Choose Birla White Primer, powered by the White Cement Advantage, for strong adhesion, a whiter finish and excellent coverage.
There is no universal number of primer coats for every project.
A single coat may be sufficient when the surface is properly prepared and the product instructions recommend one coat. Additional coats may be required for highly porous, uneven or problem surfaces.
Instead of automatically applying multiple coats, follow the manufacturer's recommended application system.
Primer and paint perform different roles in a painting system.
| Feature | Wall Primer | Paint |
|---|---|---|
| Main purpose | Prepares the surface | Provides colour and final finish |
| Surface sealing | Helps regulate absorption | Primarily provides decorative/protective finish |
| Adhesion | Helps create a suitable base | Designed as the final coating |
In simple terms, primer prepares the wall; paint finishes it.
Don't use primer to hide an unresolved moisture problem. Identify and address the source of dampness before painting.
Dust, loose paint, grease and damaged surfaces can compromise the performance of the primer and topcoat.
The cheapest primer is not necessarily the most suitable option. Consider the wall condition, location, finish paint and product specifications.
The primer and finish coat should form a compatible painting system. Always check the manufacturer's recommendations.
Over-application can affect drying and finish, while insufficient application may not provide the intended surface preparation. Follow the recommended application method and coverage.
Before purchasing wall primer paint, ask these questions:
Answering these questions makes it easier to narrow down the right primer rather than choosing one based solely on its name.
Choosing the best wall primer paint is an important step towards achieving a smooth, uniform and long-lasting paint finish. Birla White primers help create a strong, consistent base for the topcoat, improve paint adhesion and support better finish performance. Choose the right Birla White primer based on your wall condition, application area and paint requirements, and always follow the product’s technical guidelines for the best results.
Ready for a smoother, brighter finish? Choose Birla White Primer, powered by the White Cement Advantage, for strong adhesion, a whiter finish and excellent coverage.
Choosing the right wall primer paint is one of the most important steps before painting your home. While paint provides colour and the final decorative finish, primer prepares the surface underneath so the paint can adhere properly and develop a more uniform appearance.
Whether you are painting a newly plastered wall, a putty-finished surface or repainting an existing wall, the right primer can help improve adhesion, regulate surface absorption and support a smoother finish. However, not every primer is suitable for every wall.
In this guide, learn about the different types of wall primer paint, their benefits, coverage, how to choose the best primer and how to apply it.
Wall primer paint is a preparatory coating applied before the final paint coats. It creates a suitable base between the wall surface and the topcoat, helping the paint adhere more effectively and reducing uneven absorption.
Fresh plaster and other masonry surfaces can be porous, which may cause paint to absorb unevenly. Applying a suitable wall primer helps create a more consistent surface for the subsequent coats.
Primer can also be useful when dealing with repaired areas, stains, significant colour changes or previously painted surfaces that require additional preparation.
To find the best wall primer paint for your project, don't choose based on brand or price alone. Match the primer to the wall surface and the paint system you intend to use. A primer suitable for a newly plastered interior wall may differ from one required for an exterior masonry surface or a wall with persistent stains.
Skipping primer can affect the appearance and performance of the final paint finish, particularly on new, porous or repaired surfaces. The benefits of primer for paint are listed below.
A suitable primer helps the topcoat bond more effectively with the prepared wall surface. Better adhesion can reduce problems such as premature peeling or flaking.
New plaster and masonry can absorb paint unevenly. Primer helps regulate this absorption, creating a more uniform base and potentially reducing unnecessary paint consumption.
An uneven or highly absorbent wall can result in patchy-looking paint. Primer helps create a consistent surface, allowing the finish coat to develop more evenly.
Primer can help prepare the surface after suitable filling, sanding and repair work. It is important to remember that primer is not a substitute for proper wall preparation or putty application.
When changing from a darker colour to a lighter shade, a suitable primer can help create a more consistent base for the new colour.
Specialised primers are available for surfaces affected by stains, difficult adhesion, moisture-related marks or other specific conditions. The right product should be selected according to the problem rather than using a standard primer for every situation.
Explore the Birla White Primer range and choose the right primer for your interior or exterior walls.
Wall primers can differ according to their formulation, intended surface and performance requirements. Some commonly encountered categories include cement primers, acrylic primers, water-based primers and specialised primers.
Cement primer is commonly used for masonry surfaces and walls, particularly where a suitable base is required before the decorative paint coat.
It can be considered for:
Cement primer is particularly relevant to Indian homes where cement plaster and masonry are common wall substrates.
Acrylic primers use acrylic-based binders and can provide good adhesion and surface preparation for compatible substrates.
Depending on the product, acrylic primers may be suitable for:
Always check the product's technical specifications to confirm the recommended surface and compatible topcoat.
Water-based primers are widely used for suitable wall applications because they are generally easy to apply and have comparatively convenient cleanup.
They can be suitable for:
Their suitability depends on the surface condition and the finish paint being used.
Solvent-based primers are designed for applications where their particular adhesion, durability or protective characteristics are required. They are more commonly associated with certain wood and metal applications, although the appropriate product should always be selected based on the substrate.
Walls with persistent stains, smoke marks, water-related marks or difficult surfaces may require a specialised primer.
These primers are designed to address specific surface problems rather than simply providing a general base for paint.
The best wall primer for painted walls depends on more than the brand or price. Consider the surface, condition of the wall, location, existing coating and final paint before making your choice.
| Wall Condition | Suitable Primer Approach |
|---|---|
| New plastered wall | Primer suitable for masonry and compatible with the selected paint |
| Putty-finished wall | Suitable wall primer after sanding and cleaning |
| Previously painted wall | Compatible primer where required after assessing the existing coating |
| Stained wall | Stain-blocking or specialised primer, depending on the stain |
| Exterior masonry | Exterior-grade primer compatible with the exterior topcoat |
| Damp or moisture-affected wall | Address the moisture source first; use a suitable specialised system where specified |
| Major colour change | Primer/base coat that helps provide a uniform foundation |
The key principle is simple: match the primer to the wall and the final paint system.
Primer coverage refers to the area that can be coated with a specified quantity of primer under application conditions.
However, there is no single coverage figure that applies to every wall primer paint.
Actual coverage can vary depending on:
Highly porous or uneven walls may consume more primer than smooth, properly prepared surfaces.
A basic calculation for wall primer price is:
Primer required = Total wall area ÷ Coverage per litre
For example, if the paintable wall area is 1,000 sq. ft. and the selected primer's stated coverage is 100 sq. ft. per litre:
1,000 ÷ 100 = 10 litres
This is only an illustrative calculation. For an accurate estimate, use the coverage specified on the product's technical data sheet and account for the actual condition of the wall.
Correct application is just as important as selecting the right primer.
Check the wall for cracks, peeling paint, dampness, stains, dust, loose material and other defects.
If the wall has an active moisture or leakage problem, fix the underlying cause before beginning the painting system.
Remove dust, dirt, loose particles, grease and other contaminants. The wall should be sufficiently clean and dry before primer application.
Repair cracks, holes and surface imperfections using the appropriate material. If wall putty is part of the painting system, complete the recommended putty application before priming.
Once the required surface preparation material has dried, sand the wall to achieve a smooth and even surface.
Remove the sanding dust before applying primer.
Apply the selected wall primer using the recommended roller, brush or other application method.
Follow the manufacturer's instructions for:
Do not rush into the topcoat. Allow the primer to dry for the period specified by the manufacturer.
Once the primed surface is ready, apply the compatible finish paint according to the recommended painting system.
Ready for a smoother, brighter finish? Choose Birla White Primer, powered by the White Cement Advantage, for strong adhesion, a whiter finish and excellent coverage.
There is no universal number of primer coats for every project.
A single coat may be sufficient when the surface is properly prepared and the product instructions recommend one coat. Additional coats may be required for highly porous, uneven or problem surfaces.
Instead of automatically applying multiple coats, follow the manufacturer's recommended application system.
Primer and paint perform different roles in a painting system.
| Feature | Wall Primer | Paint |
|---|---|---|
| Main purpose | Prepares the surface | Provides colour and final finish |
| Surface sealing | Helps regulate absorption | Primarily provides decorative/protective finish |
| Adhesion | Helps create a suitable base | Designed as the final coating |
In simple terms, primer prepares the wall; paint finishes it.
Don't use primer to hide an unresolved moisture problem. Identify and address the source of dampness before painting.
Dust, loose paint, grease and damaged surfaces can compromise the performance of the primer and topcoat.
The cheapest primer is not necessarily the most suitable option. Consider the wall condition, location, finish paint and product specifications.
The primer and finish coat should form a compatible painting system. Always check the manufacturer's recommendations.
Over-application can affect drying and finish, while insufficient application may not provide the intended surface preparation. Follow the recommended application method and coverage.
Before purchasing wall primer paint, ask these questions:
Answering these questions makes it easier to narrow down the right primer rather than choosing one based solely on its name.
Choosing the best wall primer paint is an important step towards achieving a smooth, uniform and long-lasting paint finish. Birla White primers help create a strong, consistent base for the topcoat, improve paint adhesion and support better finish performance. Choose the right Birla White primer based on your wall condition, application area and paint requirements, and always follow the product’s technical guidelines for the best results.
Ready for a smoother, brighter finish? Choose Birla White Primer, powered by the White Cement Advantage, for strong adhesion, a whiter finish and excellent coverage.
The best wall primer is not necessarily the most expensive one—it is the primer that is compatible with your wall surface, the existing substrate and the final paint system. For new plastered walls, a primer designed for masonry surfaces can help regulate absorption and provide a suitable base for paint. For previously painted or problem surfaces, a compatible specialised primer may be more appropriate.
When choosing the best wall primer, consider surface type, interior or exterior application, porosity, existing paint condition, coverage, drying time and compatibility with the topcoat.
Wall primer is particularly useful on new, porous, repaired or unevenly absorbent surfaces. It helps prepare the wall for the finish coat, improve adhesion and create a more uniform base.
Primer coverage varies by product and surface condition. Always use the manufacturer's stated coverage rather than applying a fixed coverage rate to every wall.
Not necessarily. Interior and exterior walls can have different performance requirements, so choose a primer specifically recommended for the intended application and compatible with the finish paint.
Fill out this form to talk to our experts.
Our team typically replies in 24 hours.