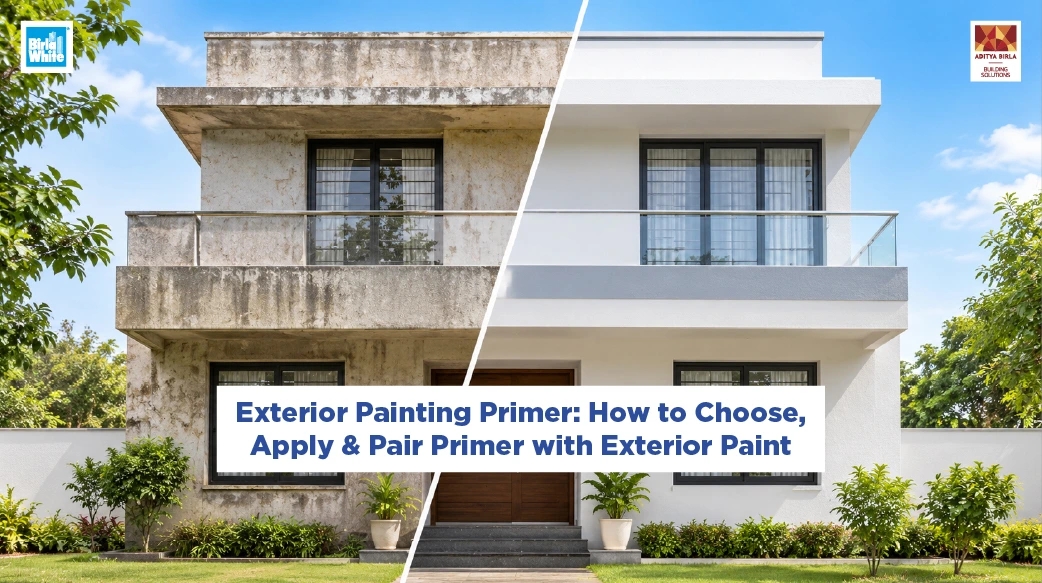
Exterior Painting Primer: How to Choose, Apply & Pair Primer with Exterior Paint
Exterior walls are exposed to sunlight, rain, humidity, dust, temperatures, etc. Picking the right exterior painting primer prepares the surface for paint, improves adhesion, and helps with a more uniform, durable finish. But what primer should you choose, how should you apply it, and how do you pair it with exterior paint?
This guide explains how to pick a primer for exterior walls, prepare different surfaces, apply the primer correctly, and choose a compatible exterior paint system for your home.
What Is Exterior Painting Primer?
Exterior painting primer is a preparatory coating applied to a suitable exterior wall before the finishing paint. It helps improve adhesion between the base material and the topcoat, regulates surface absorption where appropriate, and helps achieve a more consistent paint finish.
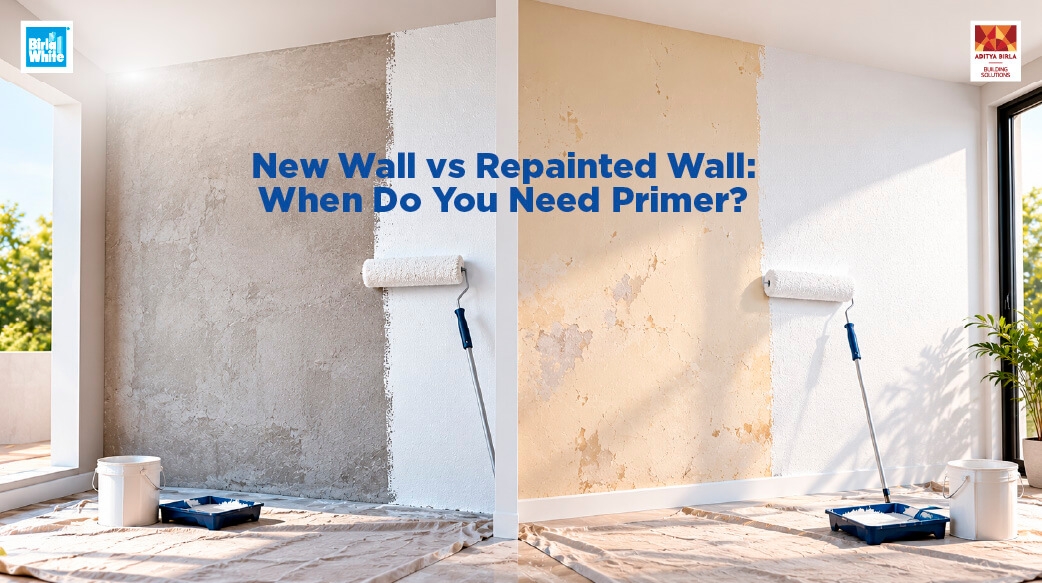
Exterior walls can have varying surface conditions. New cement plaster can absorb paint unevenly, repaired areas can have a different texture, and older walls can develop chalking or peeling. Picking the right primer helps address suitable surface-related issues before the final coat is applied.
How to Choose the Right Primer for Exterior Walls
Choosing the best primer for exterior walls begins with knowing the surface and the paint you intend to use.
1. Identify the Wall Surface
The primer should be suitable for the substrate.
- New cement plaster: Allow the plaster to cure for the period specified by the coating manufacturer. Choose a primer suitable for cement-based masonry.
- Previously painted walls: Check for peeling, chalking, flaking and poor adhesion. Remove loose material and pick a compatible primer if required.
2. Consider Moisture and Weather Exposure
Exterior walls are exposed to rain, humidity, and temperature fluctuations. Before applying primer, check for water seepage, damp patches, efflorescence, and cracks.
Repair the underlying problem before painting. Where waterproofing is needed, use an appropriate waterproofing system rather than relying on primer alone.
3. Check Compatibility with Exterior Paint
Not every primer is compatible with every topcoat. Read the product label and technical data sheet to confirm compatibility with the intended exterior paint, substrate, and exposure conditions.
4. Evaluate Coverage and Application Requirements
Check the recommended coverage per litre, number of coats, dilution instructions, application method, and drying time. Actual coverage varies depending on surface porosity, texture, preparation, and application technique.
Pick a product based on the wall's requirements rather than price alone.
5. Consider the Type of Primer
For cement-based exterior walls, pick a primer that's specifically recommended for masonry and compatible with the selected exterior paint. Avoid picking a primer solely because it's labelled white and offers high opacity.
Primer and Paint for Exterior Walls: How to Pair Them
Choosing the right primer and paint exterior combination is essential for a compatible coating system.
| Wall Condition | Primer Selection | Exterior Paint Consideration |
|---|---|---|
| New cement plaster | Masonry primer suitable for the cured substrate | Compatible exterior paint recommended for masonry |
| Previously painted wall in good condition | Compatible primer if required by the coating system | Exterior paint suitable for repainting |
| Chalky or weathered surface | Specialised preparation and primer, where specified | Topcoat compatible with the prepared surface |
How to Apply Exterior Painting Primer: Step-by-Step Guide
Correct application is as important as choosing the right primer. Follow these steps to apply a better-prepared exterior wall.
Step 1: Inspect the Exterior Wall
Check the wall for cracks, peeling paint, chalking, efflorescence, algae growth, and dampness. Identify any underlying issues before starting the painting process.
Step 2: Clean the Surface
Remove dust, dirt, loose particles, algae, and other contaminants using a suitable cleaning method. Allow the wall to dry as required before proceeding.
Step 3: Repair Cracks and Damaged Areas
Repair cracks, holes, and deteriorated plaster with suitable materials. Resolve leakage and persistent dampness before applying any coating. Allow repairs to cure or dry as instructed.
Step 4: Prepare the Surface
Remove loose or flaking paint and address chalky surfaces using the recommended preparation method. Sand or smooth repaired areas where appropriate, then remove the resulting dust.
Step 5: Apply the Primer
Mix and dilute the primer only as directed by the manufacturer. Apply an even coat using a suitable brush, roller, or spray equipment if permitted by the product instructions.
Step 6: Allow the Primer to Dry
Follow the specified drying time before applying the topcoat. Drying conditions vary with temperature, humidity, ventilation, and the product formulation.
Step 7: Apply the Exterior Paint
Once the primer is ready for recoating, apply the compatible exterior paint in accordance with its technical instructions. Use the recommended number of coats and follow the specified interval between coats.
Frequently Asked Questions About Exterior Painting Primer
1. Is primer necessary before exterior painting?
Primer is generally recommended when required by the coating system, particularly on new masonry, porous surfaces, repaired patches, and certain previously painted walls. Follow the exterior paint manufacturer's preparation and priming instructions.
2. Which primer is best for exterior walls?
The best primer is one that's designed for the wall substrate and is compatible with the chosen exterior paint. For cement plaster and masonry, pick an exterior-suitable masonry primer based on the wall's condition and the manufacturer's recommendations.
3. Can I apply exterior paint without primer?
It depends on the substrate and the paint system. Some products may allow direct application on specified surfaces; others require a primer. Skipping a recommended primer may lead to uneven absorption, poor adhesion, or inconsistent finish.
4. Can I use interior primer for exterior walls?
Not unless the manufacturer specifically approves it for exterior use. Exterior walls are exposed to weather and require a suitable coating system.
Prepare Your Exterior Walls for a Better Paint Finish
A successful exterior painting project begins well before the first coat of colour. Inspecting the wall, addressing moisture problems, preparing the surface, and picking the right exterior painting primer helps set the suitable base for the final finish.
Before buying, compare the primer's intended application, coverage, drying time, and compatibility with your exterior paint. Following the product instructions and using a suitable coating system helps your exterior walls look better and perform as intended.
Explore Birla White's range of wall and surface solutions to find products that suit your project requirements. Select the appropriate solution in accordance with the substrate, exposure conditions, and manufacturer's guidance.