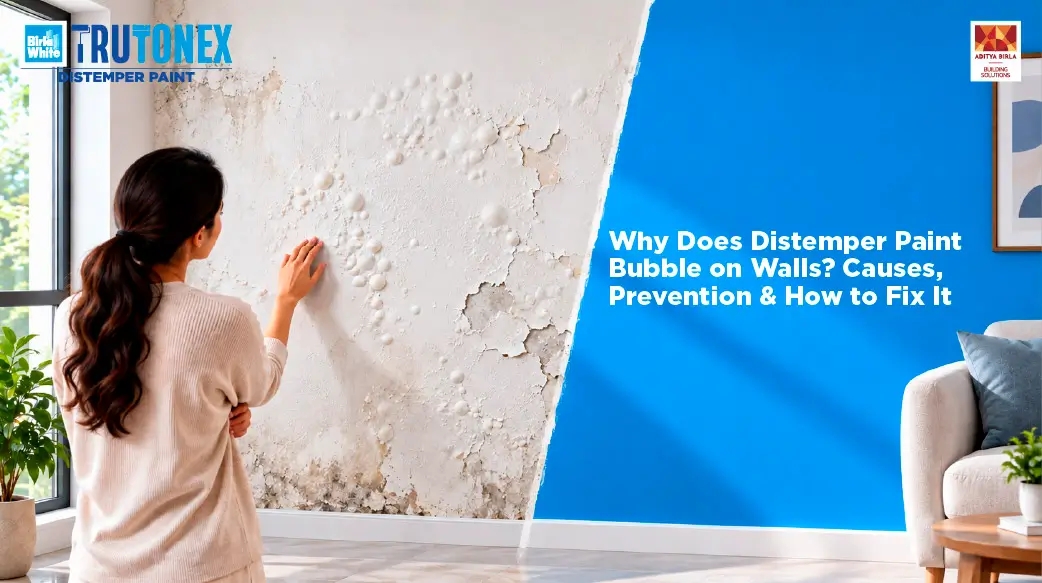
You’ve just finished painting your walls, expecting a smooth and refreshed look. But after a few days or weeks, you notice small, raised patches, bubbles, or blisters appearing on the surface. If you are using distemper paint, this can be particularly frustrating because the bubbling can quickly make an otherwise clean wall look uneven and poorly finished.
Want a flawless wall makeover? Choose the right TruTonex distemper paint colour to ensure smooth application and long-lasting beauty.
The problem is not always the paint itself. Moisture, poor surface preparation, excessive humidity, unsuitable painting conditions, incompatible coating layers, and movement in the wall substrate can all contribute to paint bubbling or blistering. Identifying the actual cause is the first step towards fixing the problem permanently.
In this guide, we explain the common causes of distemper paint bubbling, how to prevent it, and the right way to repair a wall where bubbles have already appeared.
Distemper paint bubbling occurs when the paint film loses proper adhesion to the wall and begins to lift away from the surface. This creates small pockets or raised areas that appear as bubbles or blisters.
The problem can develop shortly after painting or appear months later, depending on what is causing the loss of adhesion.
Moisture is one of the most common contributors, but inadequate surface preparation, high humidity, unsuitable application conditions, and incompatible layers underneath the paint can also cause bubbling.
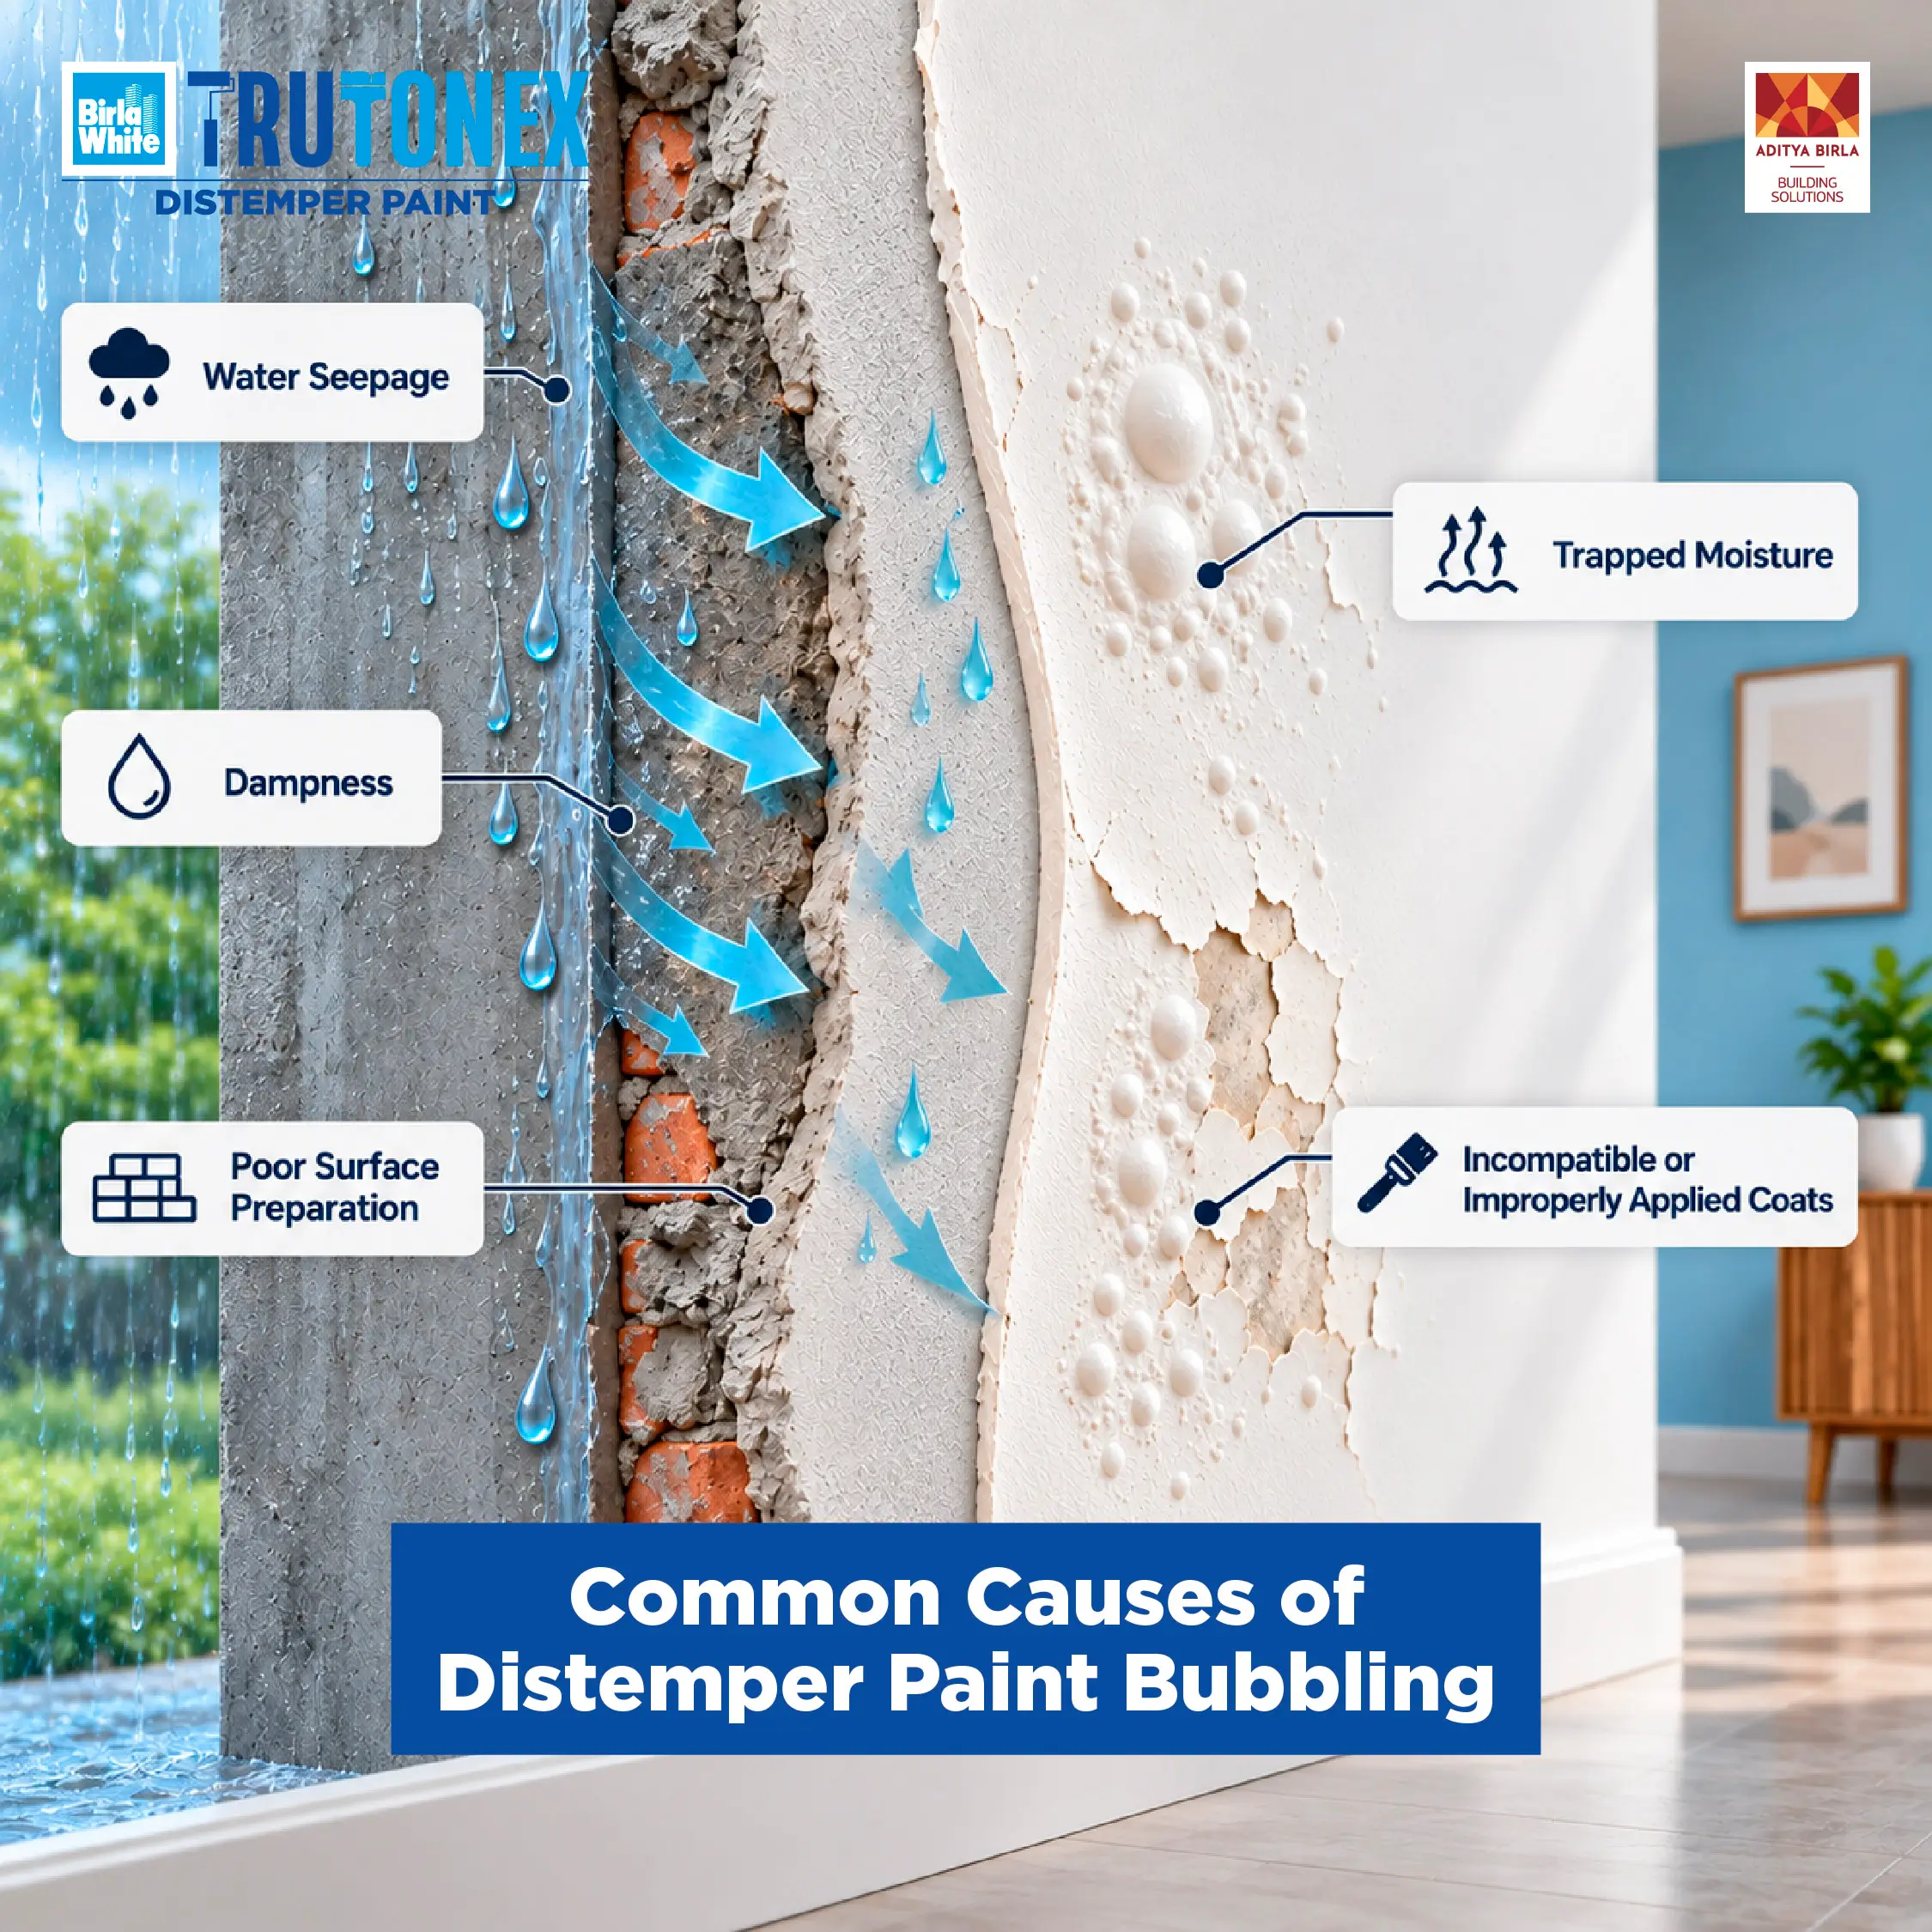
Several factors can cause bubbles to form beneath distemper paint. Understanding the cause is important because simply repainting the affected area may not solve the problem.
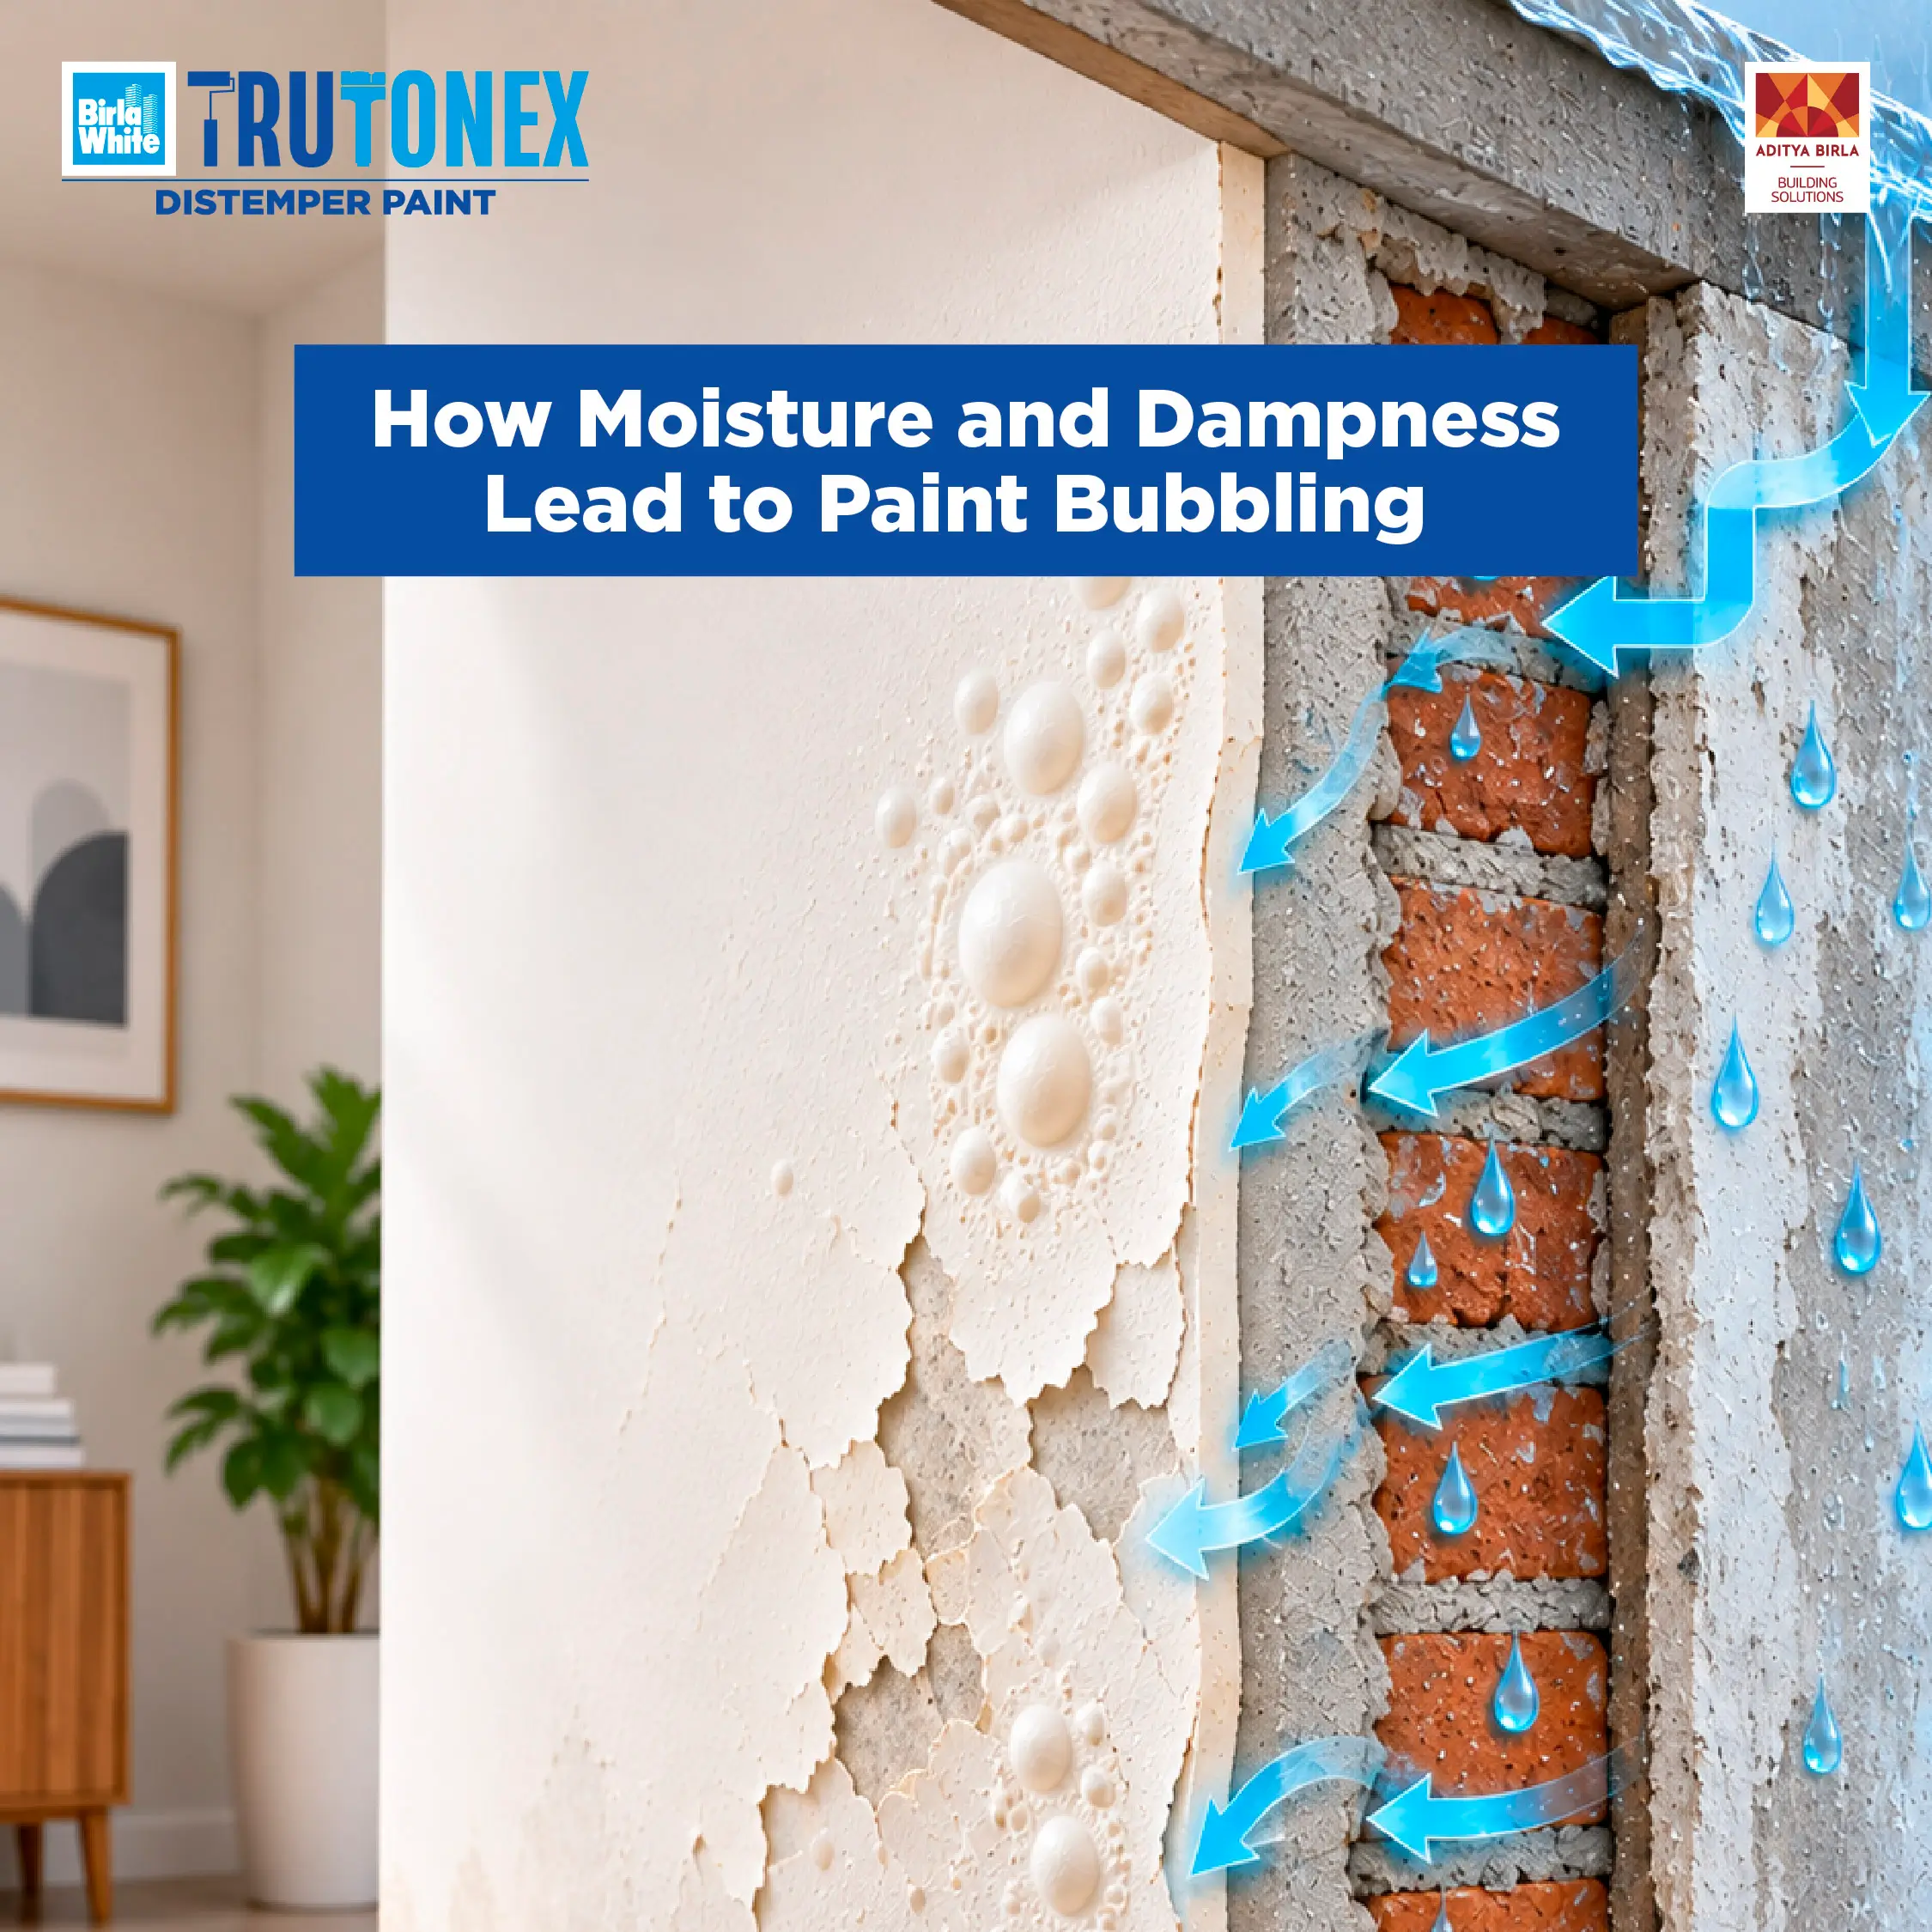
Moisture is one of the most common reasons for distemper paint bubbling on walls.
Water can enter a wall through plumbing leaks, roof or terrace seepage, cracks, external walls, or other pathways. When moisture becomes trapped beneath the paint layer, it can weaken the bond between the coating and the wall.
As the paint loses adhesion, raised pockets or blisters may appear.
If bubbling is accompanied by damp patches, discolouration, peeling, or recurring damage after rainfall, investigate the wall for possible moisture intrusion before repainting. Moisture-related wall problems can also result in peeling and other visible surface damage.
A smooth-looking wall does not necessarily mean it is ready for painting.
Dust, grease, dirt, loose particles, old paint, cracks, and surface imperfections can prevent distemper paint from adhering properly.
If these issues are not addressed before painting, the coating may eventually lose adhesion and begin to bubble or peel.
Proper surface preparation should include cleaning the wall, removing loose material, repairing visible defects, and ensuring that the surface is sufficiently dry before painting.
High humidity can also contribute to paint bubbling.
When the surrounding air contains significant moisture, the drying process can be affected. If moisture remains trapped in or beneath the coating, the paint may not develop proper adhesion.
This can be particularly relevant in poorly ventilated rooms, kitchens, bathrooms, and other areas where moisture levels are regularly high.
Good ventilation can help painted surfaces dry more effectively and reduce moisture buildup.
The conditions under which distemper paint is applied can affect the final result.
Painting during excessive humidity, extreme temperatures, direct sunlight, or unsuitable weather conditions can interfere with drying and adhesion.
For example, a coating that dries too quickly on the surface may not dry uniformly underneath. This can contribute to imperfections, including blistering.
Always follow the product manufacturer's recommended application conditions.
Sometimes the problem lies beneath the new coat of distemper paint.
If an old coating is already loose, chalky, peeling, or poorly bonded to the wall, applying another layer over it does not necessarily correct the problem.
The new coating may adhere to the unstable layer rather than to a sound substrate. As the old coating continues to deteriorate, the new paint can also bubble or peel.
For this reason, loose or damaged paint should be removed and the surface properly prepared before repainting.
The quality and compatibility of the materials used in a painting system can affect adhesion and durability.
Using unsuitable products together or applying a new coating over an incompatible surface can increase the possibility of bubbling.
Rather than choosing a paint only on the basis of price, consider whether the distemper paint, primer, putty, and underlying surface are suitable for the intended application.
Walls can experience minor movement because of temperature changes, building settlement, or expansion and contraction of construction materials.
This movement can place stress on the paint film. Over time, the coating may crack, blister, or lose adhesion.
If bubbling is accompanied by significant or recurring cracks, the wall should be assessed before simply repainting the surface.
Before repairing the affected area, look closely at the wall.
Ask yourself:
These observations can help determine whether the issue is primarily related to moisture, surface preparation, application, or the underlying substrate.
Preventing bubbling is generally easier than repairing a damaged wall. A few important practices can help improve the performance of your distemper paint.
Before applying paint, clean the wall thoroughly and remove dust, grease, loose particles, and flaking coatings.
Repair cracks, holes, and other surface imperfections before painting.
A properly prepared surface provides a more stable base for the paint and promotes better adhesion.
Never ignore dampness before painting.
If there is seepage, plumbing leakage, or another source of moisture, fix the problem first. Painting over a damp wall can cause the bubbling or peeling to return.
The painting system should be selected according to the condition and requirements of the wall.
Where appropriate, a suitable wall putty and primer can help create a smooth and uniform base before applying distemper paint.
Wall putty is generally used to improve surface smoothness and address minor imperfections, while primer can help provide a suitable base for subsequent paint coats.
Avoid painting when environmental conditions are unsuitable.
Excessive humidity, direct sunlight, extreme temperatures, and rainy conditions can affect drying and application.
Follow the product instructions for recommended conditions and drying intervals.
Adequate airflow can help moisture escape and support more uniform drying.
This is particularly important in areas such as kitchens, bathrooms, and other rooms where humidity tends to be higher.
If the existing distemper paint is already peeling, bubbling, or flaking, don't simply cover it with another coat.
Remove the unstable material, prepare the surface, and create a sound base before repainting.
If bubbles have already appeared, don't immediately repaint the wall. The underlying cause should be identified and corrected first.
Check whether moisture, seepage, poor adhesion, surface damage, or another issue is responsible.
If water is entering the wall, resolve the source before beginning surface repairs.
Use a suitable scraper or putty knife to carefully remove the bubbled, loose, or blistered distemper paint.
Continue until you reach a firm and stable surface.
Once the loose paint has been removed, lightly sand the area.
This helps smooth rough edges and prepares the surface for the next stage.
Remove sanding dust before applying any new coating.
If scraping reveals cracks, holes, or uneven areas, repair them with a suitable wall-finishing material.
Allow the repaired surface to dry adequately before proceeding.
Apply an appropriate primer to the prepared area, following the recommended product system.
Primer can help seal the prepared surface and promote better adhesion for subsequent paint coats. However, primer alone cannot solve a continuing moisture or seepage problem.
Once the primer has dried, apply fresh distemper paint evenly according to the manufacturer's instructions.
Allow the recommended drying time between coats and avoid applying unnecessarily thick layers.
Primer can help improve adhesion and provide a more uniform base for paint when the wall has been properly prepared.
However, primer is not a solution for an unresolved moisture problem.
If water is entering the wall, the source of moisture must be addressed first. Otherwise, bubbling or peeling may return even after applying primer and fresh distemper paint.
Although they are related, bubbling and peeling describe different forms of paint failure.
Bubbling occurs when areas of the paint film lift away from the wall, forming raised pockets or blisters.
Peeling occurs when the paint loses adhesion and begins separating from the surface in flakes, strips, or larger sections.
Both can be associated with moisture, inadequate surface preparation, poor adhesion, or problems with the underlying coating.
Minor bubbling caused by a localized surface issue may be repairable through proper preparation and repainting.
However, professional assessment may be appropriate when:
Treating only the visible paint damage without addressing the underlying issue can result in repeated repairs.
Distemper paint bubbling on walls is usually a sign that something has affected the bond between the paint and the underlying surface. Moisture infiltration, poor surface preparation, excessive humidity, unsuitable application conditions, incompatible coating layers, and substrate movement can all contribute to the problem.
The right solution is not simply to paint over the bubbles. First, identify the cause, remove the damaged coating, prepare the surface, prime where appropriate, and then reapply distemper paint.
Most importantly, make sure the wall is clean, dry, stable, and properly prepared before painting. This creates the foundation for a smoother and more durable wall finish.
Distemper paint bubbles are preventable with the right preparation and application methods. By addressing moisture issues, cleaning surfaces, and applying coats correctly, you can achieve a durable, smooth finish.
Ready to repaint? Pick your ideal Trutonex distemper paint colour today and give your walls a flawless, bubble-free look.
Distemper paint can bubble because of moisture infiltration, damp walls, poor surface preparation, high humidity, unsuitable application conditions, incompatible coating layers, or movement in the wall substrate.
Yes. Moisture trapped beneath the paint can weaken adhesion and cause the coating to lift, resulting in bubbles or blisters.
First identify and fix the underlying cause. Then scrape away loose paint, sand the affected area, repair surface imperfections, apply a suitable primer if required, and repaint once the surface is dry and properly prepared.
It is generally better to remove loose and bubbled paint first. Painting over an unstable coating may not solve the adhesion problem and can cause the bubbling to return.
Primer can improve adhesion when applied over a properly prepared surface, but it cannot prevent bubbling caused by ongoing moisture or seepage.
Yes. Excessive humidity can interfere with drying and contribute to moisture-related paint problems, particularly in poorly ventilated areas.
Prepare the wall properly, ensure it is dry, repair cracks and damaged areas, use compatible materials, provide adequate ventilation, and follow the recommended application and drying instructions.
No. Water or moisture is a common cause, but bubbling can also result from poor surface preparation, high humidity, unsuitable application conditions, incompatible coating layers, and substrate movement.
Fill out this form to talk to our experts.
Our team typically replies in 24 hours.