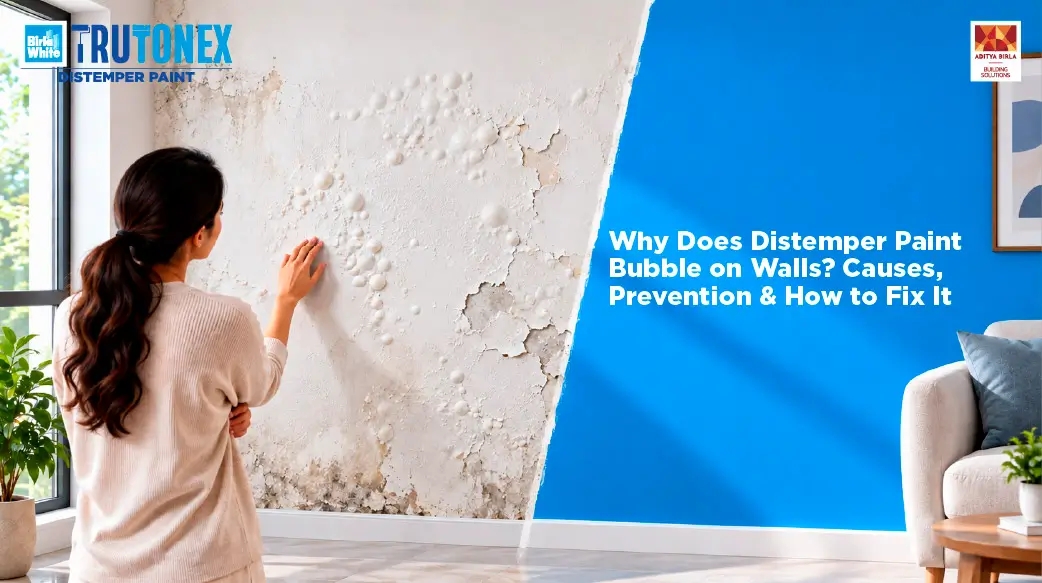
A smooth, even wall can transform the look of a room, but achieving that finish is not just about choosing the right paint. Surface preparation, the number of coats, paint consistency, application technique, and drying time all play an important role.
Distemper paint remains a practical and economical choice for interior walls, particularly when you want a simple decorative finish without the higher cost of premium emulsion paints. However, even good-quality distemper can look patchy, uneven, or chalky when applied over an improperly prepared surface.
Getting a smooth, professional-looking wall finish with distemper paint requires the right technique and preparation. Distemper is known for its affordability and matte charm, but achieving a flawless coat depends on how you apply it. From surface preparation to layering coats, every step matters.
Looking to refresh your walls? Explore a wide range of distemper paint colour options that bring elegance and durability to your interiors.
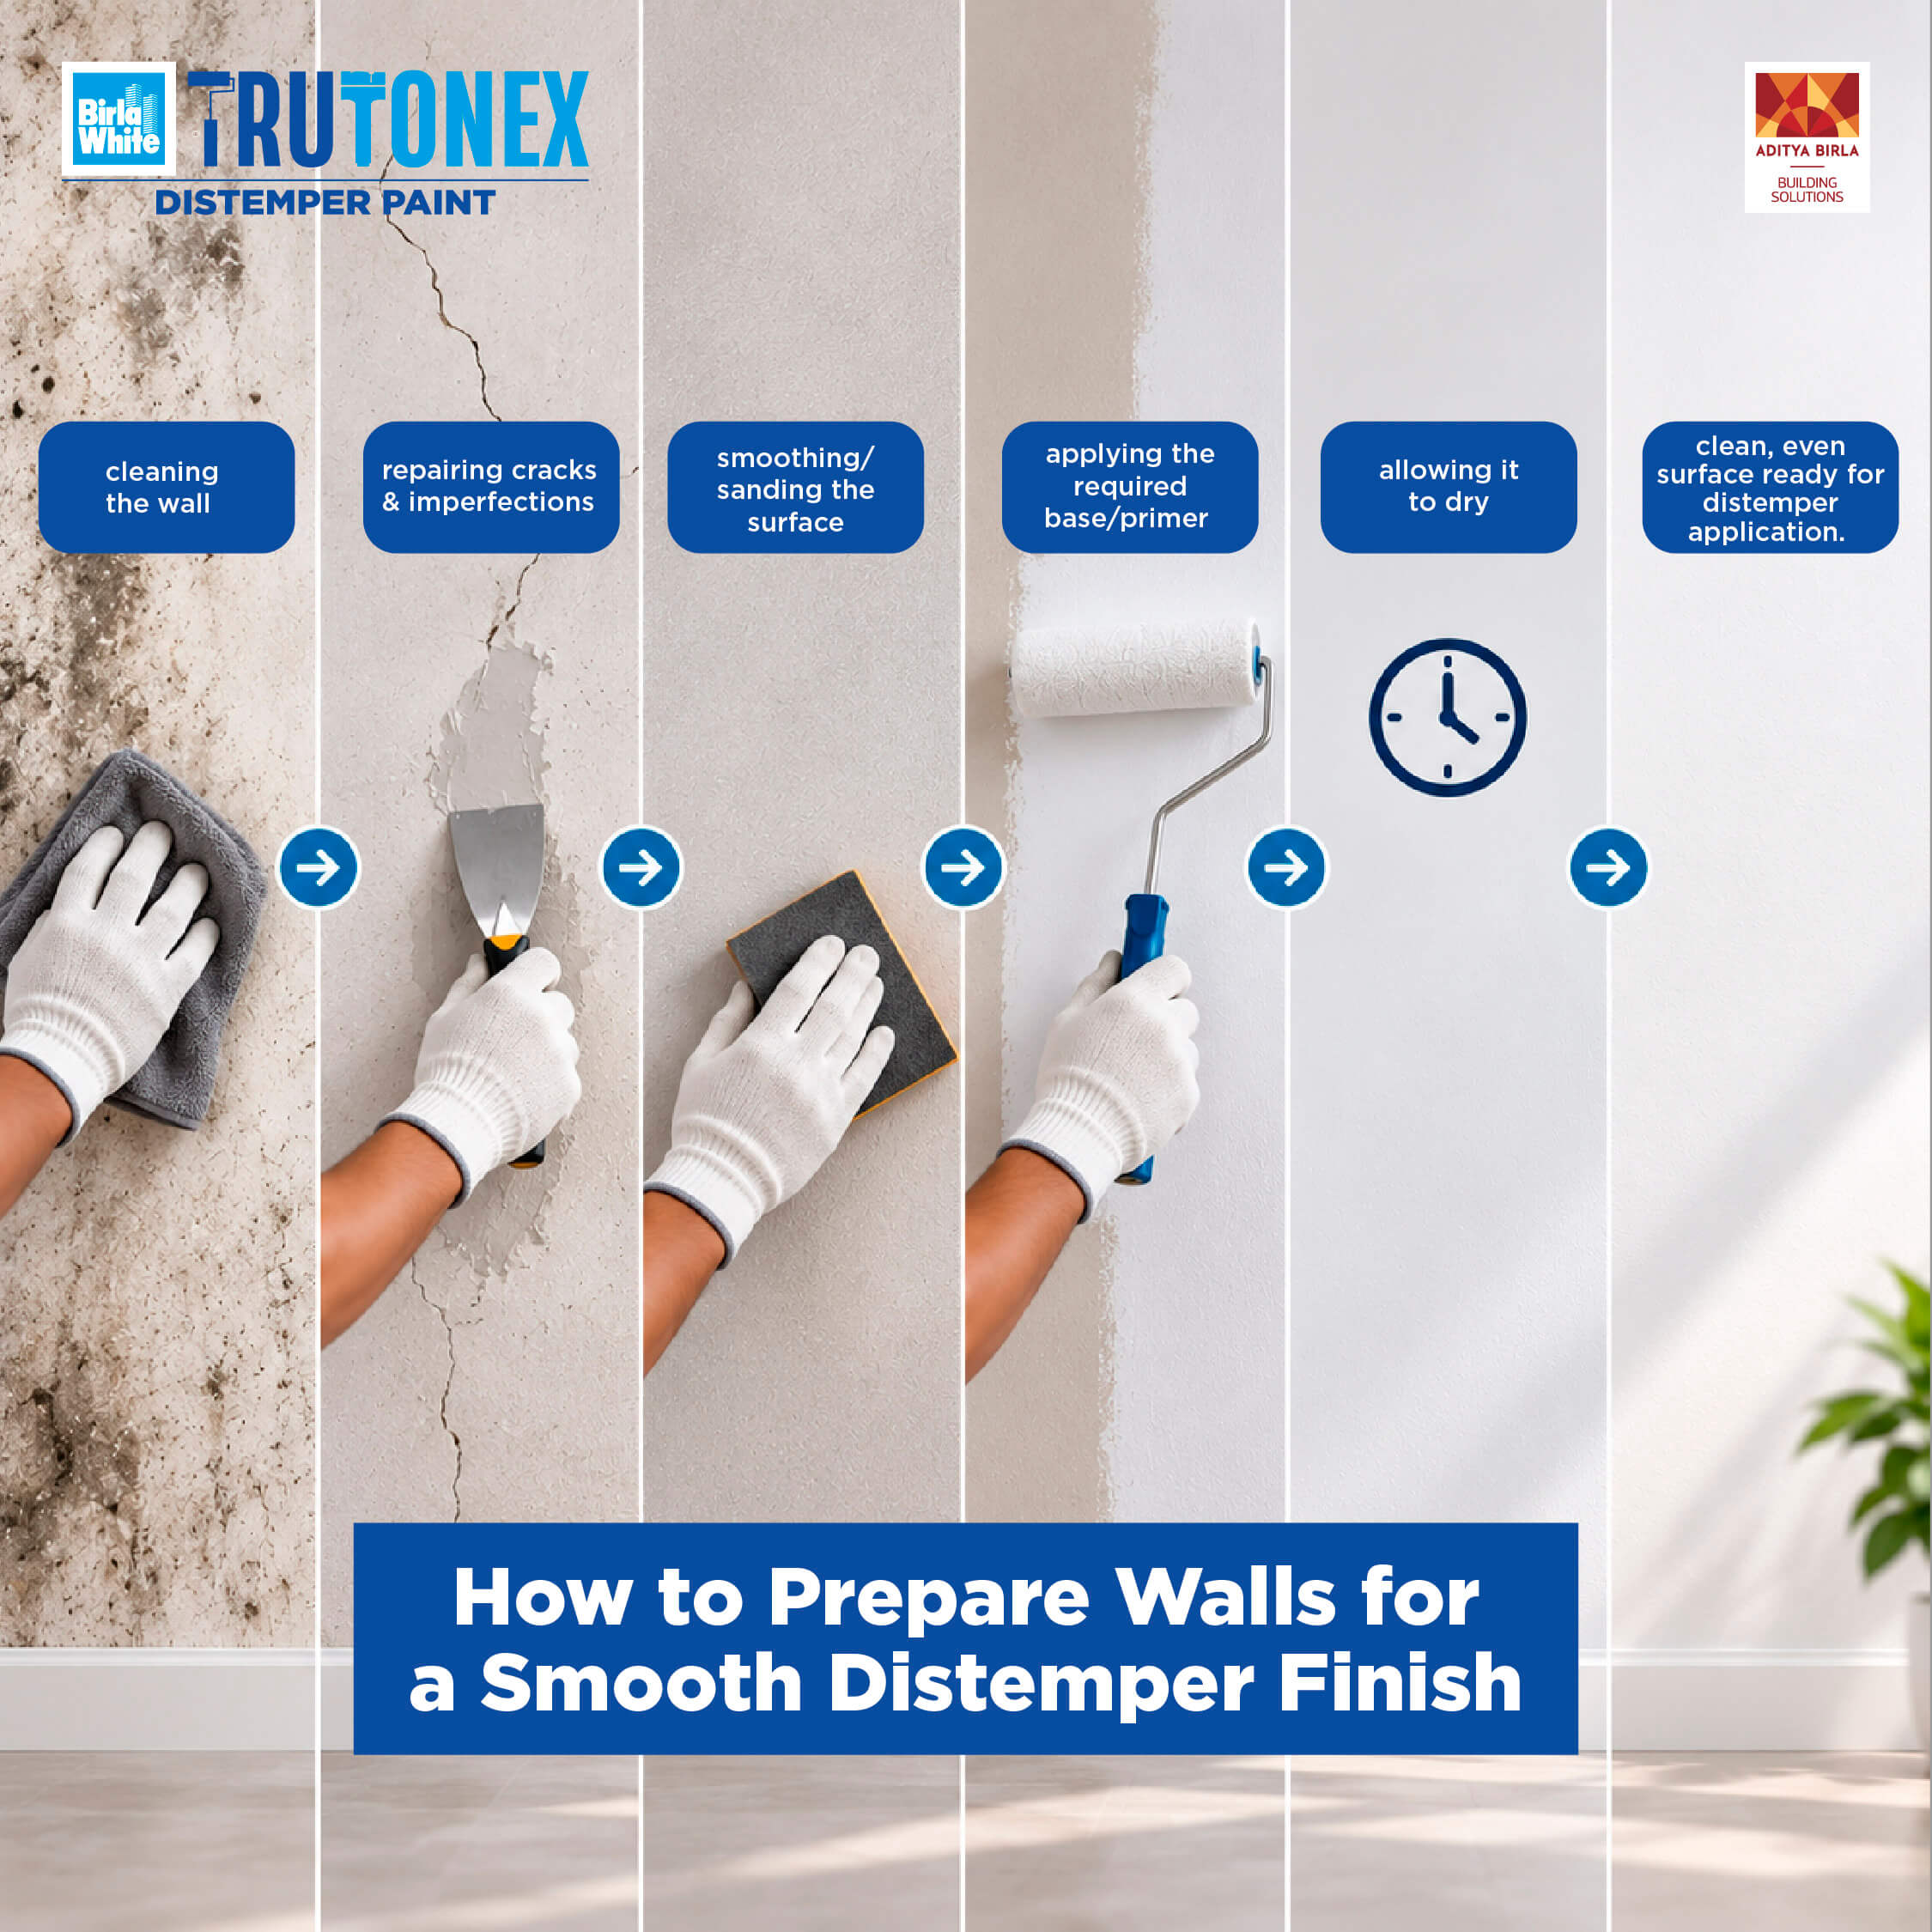
The key is simple: prepare the wall properly, use the right consistency, apply thin and even coats, allow adequate drying time, and finish with careful application.
This guide explains the complete process, including how many coats of distemper are needed, distemper paint coverage, application tips, and how to choose the right distemper colours and distemper wall colour for your home.
Distemper paint is a traditional water-based wall coating commonly used on interior walls and ceilings. It is generally made using a binder, pigments, fillers, and other additives that help create an economical decorative finish.
It is popular because it is:
Economical compared with many premium wall paints
Available in a wide range of shades
Relatively easy to apply
Suitable for interior walls and ceilings
Available in different finishes and formulations
However, distemper is generally less durable and less washable than modern premium emulsions. Therefore, selecting the right product and preparing the surface correctly are important for achieving a better-looking and longer-lasting finish.
A smooth finish is not produced in a day; here are some application tips to get the best out of distemper paints:
Make sure that the wall is clean and dry before you start with the application. For old walls, scrape off the peeled off paint and fill up cracks with putty. For new walls, make sure that the plaster has set well.
It is extremely important to prepare your surface by removing any dirt, loose pieces, or dust.
Putty is used to fill holes and cracks in the plaster. This gives the wall a smooth surface to work with. You can apply the distemper on a smooth surface to get an equally smooth finish.
Now, on to the star of the show, the distemper. Here are some pro tips for you on how to apply distemper:
Apply thin coats of distemper instead of thick ones because they might blister.
It might seem like distemper covers a large area but make sure that you dilute it to get an even coverage.
Make sure that you give the first coat enough time to dry before you apply the next one so that it does not blister.
A good distemper paint will give you a good smooth finish. Make sure to choose the right colour.
Getting a smooth finish is a process rather than a single application step. Follow these steps for better results.
It provides consistent coverage, improves adhesion, and allows an even finish. It is particularly important on new, repaired, unevenly porous or freshly puttied walls. Leave to dry as specified by the manufacturer.
Use the correct dilution ratio to achieve a proper consistency. Too thick, and you risk brush or roller marks and too thin and you will not get the coverage. The correct consistency is particularly important if you want to achieve a uniform and appealing result.
Start from the top and work down using even strokes. Always keep the brush or roller in a wet coat of paint. Avoid excessive reworking and of partially dried areas. Don't apply the first coat too heavily as you can always leave it to dry a little bit and apply a second thinner coat.
Always allow the first coat to dry before putting on the second coat. How long this takes depends on the product, temperature, humidity, ventilation, and surface condition. Always follow the recommended time for recoating from the manufacturer.
The second coat often ensures more even coloration, improved opacity, and better all-round appearance. The second coat should be applied in the same way as the first. Further coats may be required, depending on surfaces and products.
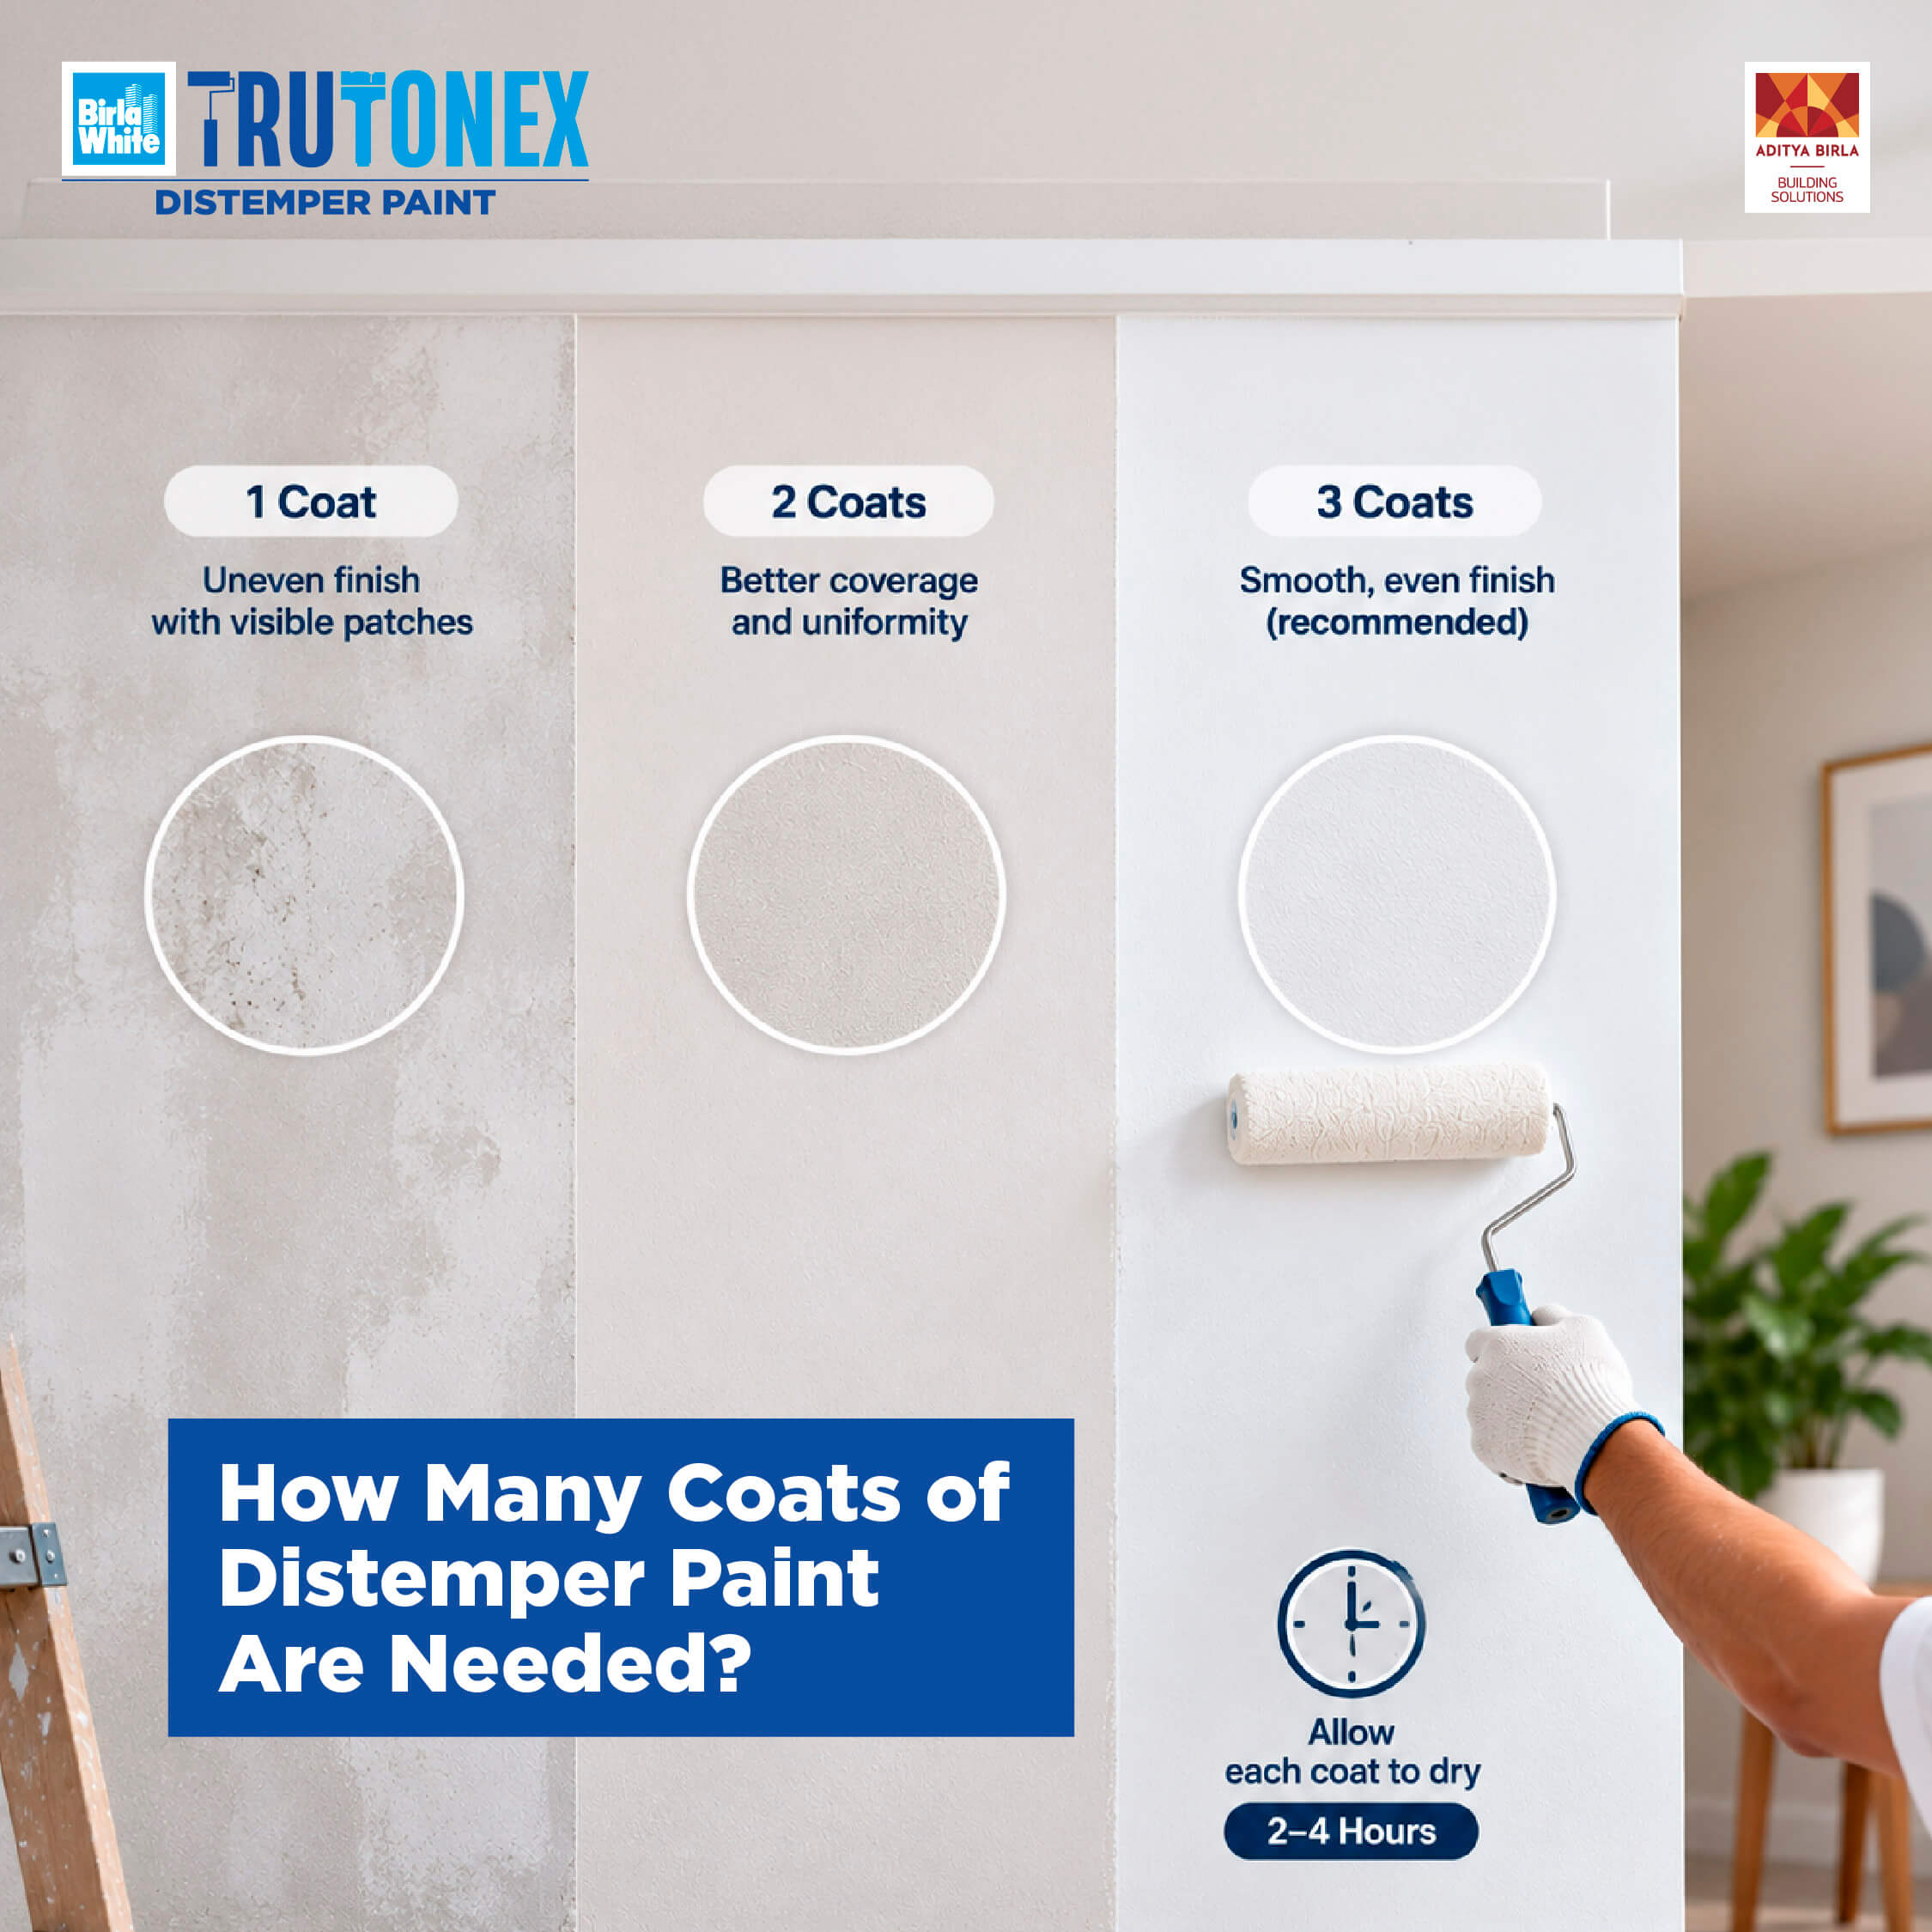
The number of coats depends on the wall condition, product formulation, colour, application method, and desired finish.
Midway through your project? Choose the perfect distemper paint colour to match your décor and achieve a seamless look.
Surface condition
Typical approach
New, properly prepared wall
Primer + 2 coats of distemper
Previously painted, good-condition wall
1–2 coats after suitable preparation
Uneven or repaired wall
Surface preparation + primer + 2 or more coats as required
Major colour change
An additional coat may be required
These are general guidelines. Always follow the specific product's technical instructions for recommended coats and recoat time.
Distemper paint coverage refers to the approximate area that a given quantity of paint can cover under specified conditions.
Actual coverage can vary significantly depending on:
Wall porosity
Surface smoothness
Number of coats
Paint dilution
Application method
Colour
Skill of the applicator
Whether the surface has been primed
A highly porous wall generally consumes more paint than a properly prepared and primed surface.
Simple way to estimate paint quantity
First calculate the approximate wall area:
Wall area = Wall length × Wall height
For multiple walls:
Total area = Sum of individual wall areas − Door and window areas
Then divide the total paintable area by the manufacturer's stated coverage per litre, while accounting for the number of coats.
Example
Suppose your paintable wall area is 800 sq. ft. and the product's stated coverage is 100 sq. ft. per litre per coat.
For one coat:
800 ÷ 100 = 8 litres
For two coats:
8 × 2 = 16 litres
This is only an estimate. Actual consumption can be higher depending on surface absorption and application conditions.
The lifespan of distemper depends on the product quality, surface preparation, environmental conditions, maintenance, and exposure to moisture.
Interior walls in dry conditions can retain their appearance for a reasonable period, while walls exposed to dampness, water seepage, or high humidity may deteriorate sooner.
If a wall repeatedly develops damp patches, peeling, bubbling, or salt deposits, simply repainting it may not solve the underlying problem.
The source of moisture should be identified and addressed first.
Distemper paint remains a timeless choice for budget-friendly yet elegant walls. By preparing surfaces, applying multiple coats, and following proper drying intervals, you can achieve a smooth, lasting finish.
Ready to transform your space? Pick your ideal distemper paint colour today and give your walls the flawless finish they deserve
In many cases, two coats can provide a satisfactory and more uniform finish when applied over a properly prepared surface. However, the exact number depends on the product, surface condition, colour, and desired coverage.
Prepare the wall properly, repair imperfections, use primer where required, maintain the recommended paint consistency, apply thin and even coats, and allow sufficient drying time between coats.
Light colours such as off-white, cream, pale beige, and soft pastels can make a small room feel brighter and more spacious.
Coverage varies by product and surface. Always refer to the manufacturer's stated coverage. Porous or rough surfaces generally consume more paint than smooth, properly prepared surfaces.
New walls should be properly cured, dry, clean, and prepared before painting. Depending on the product and surface, primer or other preparatory coatings may be recommended.
Yes, provided the existing paint is in suitable condition. Loose, peeling, chalky, or damaged paint should be removed and the surface properly prepared before repainting.
Fill out this form to talk to our experts.
Our team typically replies in 24 hours.