One common question that comes up is whether wall putty can replace cement for repairs. At a glance, both are applied on walls and may seem interchangeable. However, in reality, they serve very different purposes. Understanding this difference is key to avoiding costly mistakes and ensuring long-lasting results.
Cement (or cement plaster) is the structural base of your wall. It is used to level surfaces, fill major gaps and provide strength to the base. Wall putty, on the other hand, is a finishing material applied over plastered walls to smoothen the surface and prepare it for further treatment. This means wall putty is not designed for structural repairs. Instead, it works best for:
In simple terms, cement builds the wall’s strength, while wall putty colour and finish enhance how it looks and performs over time.

Rather than replacing cement, wall putty complements it. It is most effective in the final stages of wall preparation, especially when you want smooth and refined surfaces. Based on application areas, wall putty works best for:
White cement-based products like Birla White WallCare Putty are specifically designed for such applications. It offers high adhesion, smooth finish and water resistance due to advanced polymer technology.
The correct stage to apply wall putty is after the base plaster (cement) has been completed and properly cured. The surface should be:
Applying putty at the right stage ensures better bonding and a smoother finish.
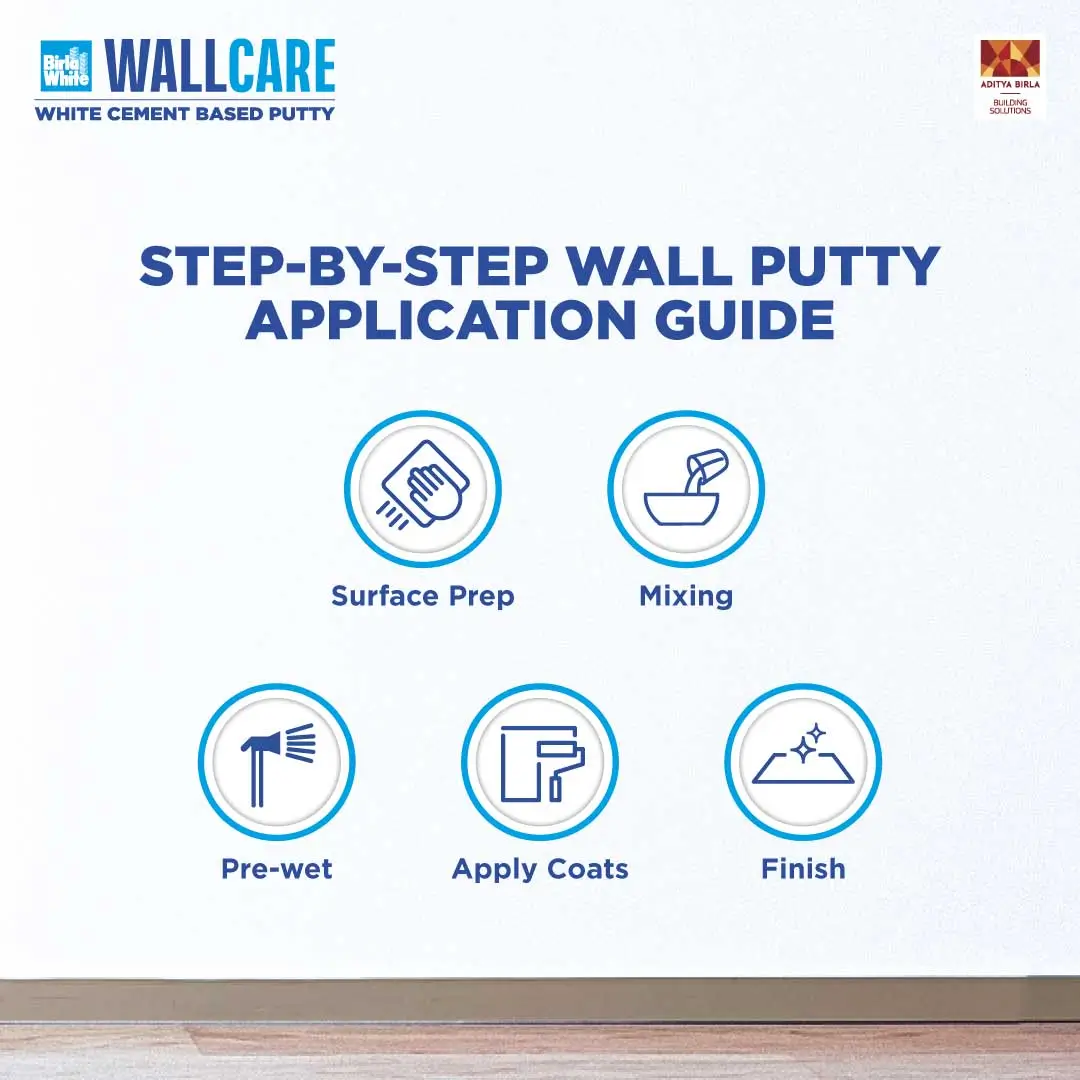
Applying putty correctly is just as important as choosing the right product. Here’s how Birla White WallCare Putty is typically applied:
1. Surface Preparation
Clean the wall thoroughly and remove loose materials. Pre-wet the surface to improve bonding.
2. Mixing
Mix the putty with about 36–38% clean water and stir for 10–15 minutes to form a smooth and lump-free paste.
3. First Coat Application
Apply the first coat evenly using a putty blade in upward strokes on the damp surface.
4. Surface Smoothing
After drying, gently smooth the surface using a wet sponge or fine emery paper to remove imperfections.
5. Second Coat and Drying
Apply a second coat after a few hours and allow the surface to dry completely (preferably overnight).
This process helps create a uniform base that enhances the final wall putty colour and finish.
To ensure the best performance from white cement-based Birla wall putty, it is important to follow the right application practices and safety measures.
| Do’s | Don’ts |
|---|---|
| Mix Birla White WallCare Putty with a mechanical stirrer for best results | Don’t add water into the putty after mixing |
| Add putty to water gradually while mixing | Don’t apply putty on a completely dry surface |
| Apply Birla White Cement Wash on highly absorbent or concrete surfaces before application | Don’t rub the surface aggressively or use rough emery paper after application |
| Ensure proper surface preparation and slight dampness before application | Don’t compromise on surface cleaning before application |
| Follow recommended drying timelines before leaving the surface exposed | Don’t leave the final coat exposed beyond recommended duration |
So, can wall putty replace cement for surface repairs? No but it plays an equally important role. Cement provides strength and structure, while wall putty refines the surface, enhances the wall putty colour and improves overall finish quality. Used together, they create walls that are strong, durable and visually appealing.
To explore more wall putty options, visit www.birlawhite.com
Fill out this form to talk to our experts.
Our team typically replies in 24 hours.


