
Loading
When we are trying to swing a redo to our homes, one of the most time consuming tasks that we cannot avoid is repainting walls. Another problem with this is that it generates a lot of dust, which makes it difficult for those at home. Old people often end up having breathing problems and children have sudden asthma flare-ups.

Considering all this, we have launched a Wall Putty that’s specifically designed to ease the repainting process of interior walls. This putty is called as Birla White WallCare Putty. If you choose this product, you will see that the entire process can be made faster and be completed entirely in just 3 simple steps. Read on to find out what these are!
Step 1: Preparation
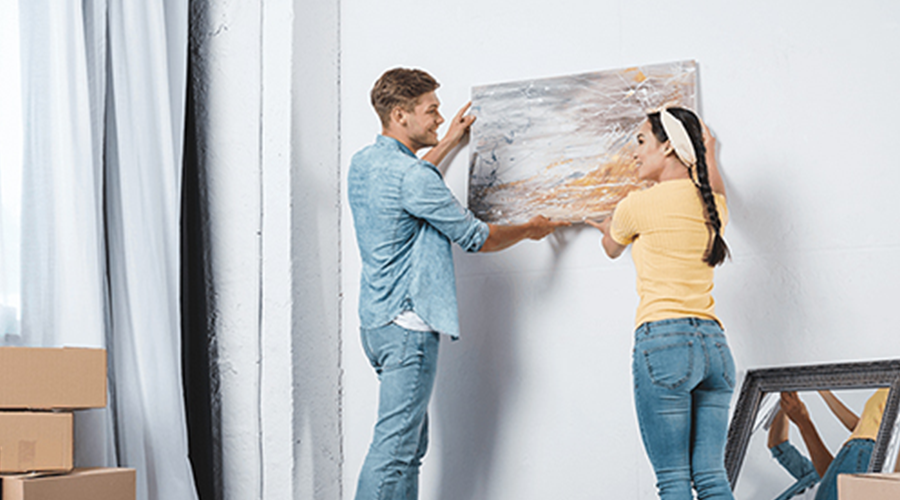
The first thing you need to do is free your wall from everything that leans on it. This includes any paintings you have hanging on the wall, wall clocks, and other accessories. Make sure that you also pull away any sofas, chairs, or tables from the wall surface.
Once this is done, you can go on to clean the walls. This is an essential step as any kind of dust or grime build-up can affect the quality of the putty application. Most repainting projects also require you to scrape the old paint off. But the beauty of the Birla White Re-Paint Putty is that you don’t need to do any scraping. The putty is such that you can simply apply it, given that you have a prepped wall.
Step 2: Application
Once you are done with the wall preparation, start on mixing the Birla White Wall Putty. For this, you need to pour water into a container and then mix in the putty powder. Using a mechanical stirrer is ideal for this step as it helps the putty slurry be free of any unnecessary lumps.
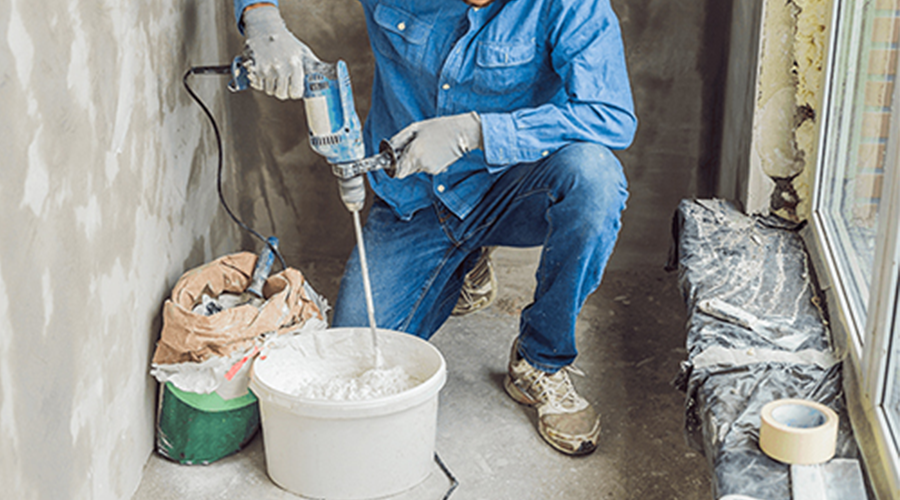
Once your slurry is ready, use either a putty blade or a putty roller to apply it onto the wall. It is ideal to leave the wall to dry for at least 12-18 hours before you go ahead and apply your second coat. One problem you won’t face with this product is dust as it gives you a 38% dust-free experience. After Birla White Re-Paint Putty, there is seldom need for sanding. However, if you feel, you can sand the wall with an emery paper that is above 500.
Step 3: Finishing
The Birla White WallCare Putty gives you a finish that is already premium. Another thing about this product is that it does not need a primer to be applied before application of putty. Post application of the Birla White Re-Paint Putty, you can move on to the interior wall paint.
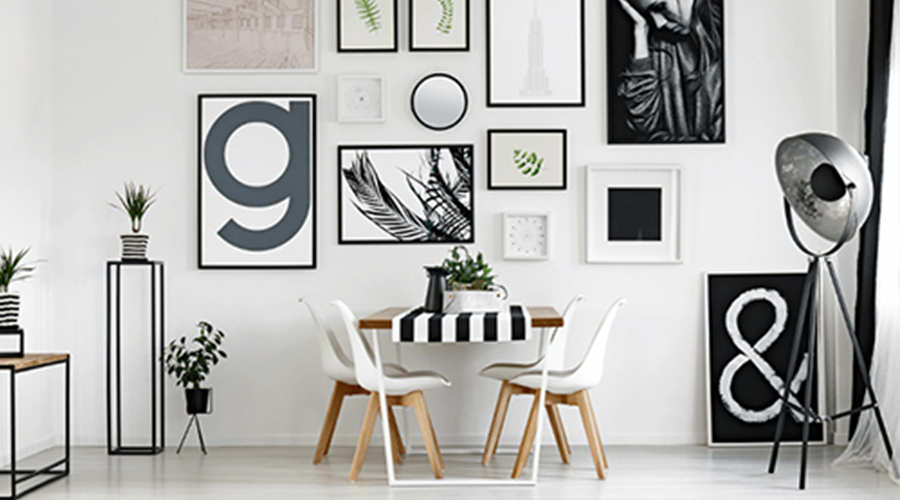
If you have any professional painters who can help you out with this, then great! But if you are more of a DIY person, looking up house painting tips and tricks it can be a long way for you. Once you are done with the texturing and painting, you need to leave it to dry, post which you can move on to decorating your walls and the areas around it.
Since the Birla White WallCare Putty is a product that is both, timesaving as well as dust-free, it helps you get through these steps in a jiffy. That way, you don’t just get a wall makeover; you get a wall makeover in lesser time! So, go ahead and choose the right product for your walls.
Also Read: The Story of Birla White’s White Cement Innovation


